This project was born in November 2022, at a time when the ability to create images using generative AI was still a novelty. Since then, we’ve quickly grown accustomed to this fascinating technology—so much so that we now feel a pang of disappointment when AI fails to produce flawless images on demand. But back in 2022, it still felt like magic.
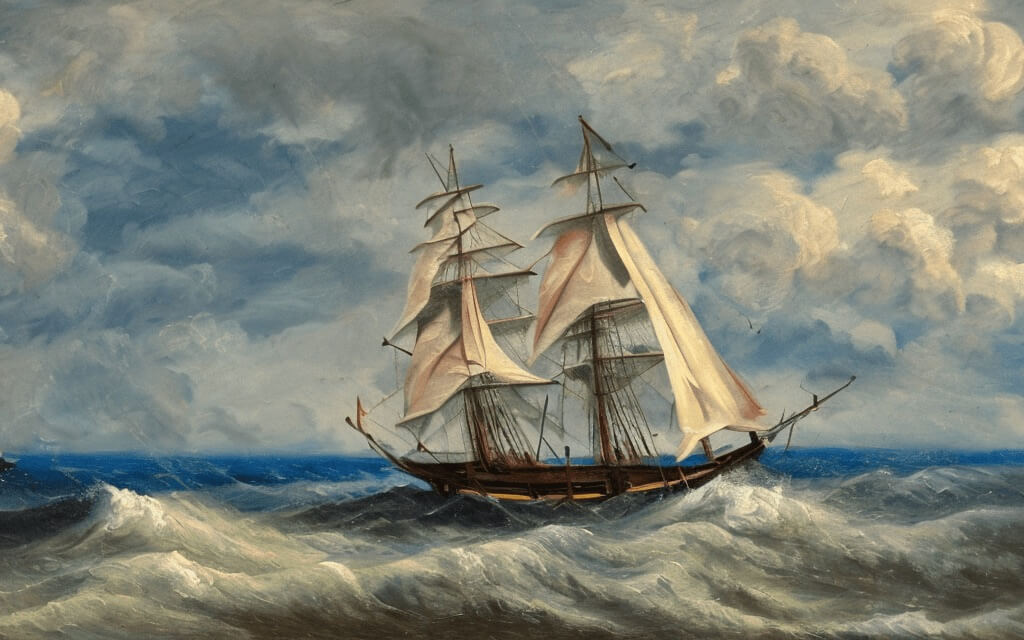
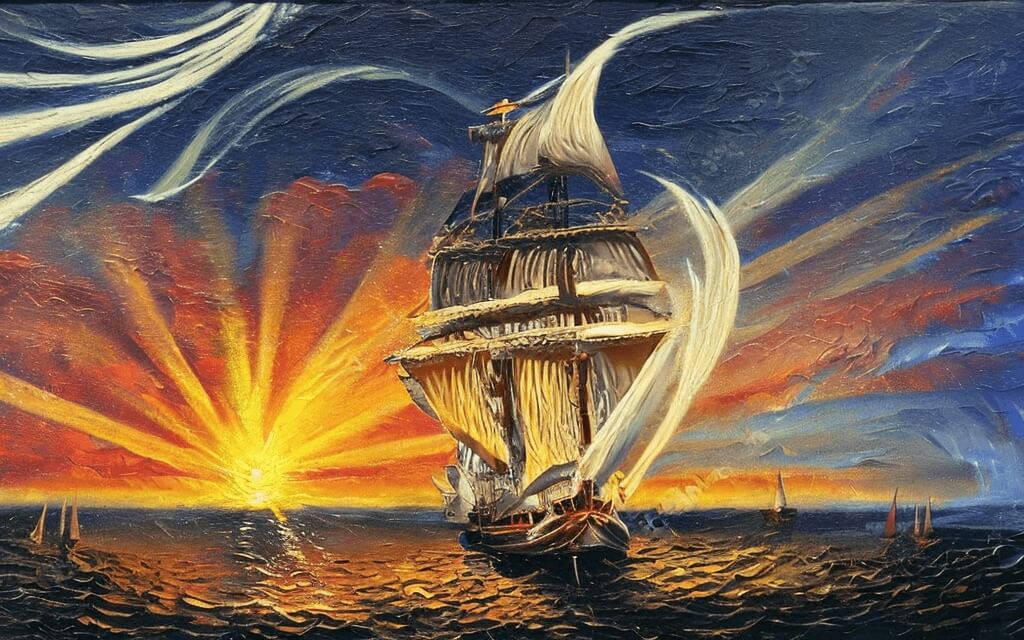
There’s something undeniably romantic about old oil paintings of ships on the high seas. They tell tales of adventure, discovery, and hidden treasures, forever at the mercy of the tides. Ships symbolize freedom, the call to explore uncharted waters, and the relentless pursuit of a distant horizon.
During a summer trip to the North Sea in 2022, we visited a restaurant where a stunning painting of a grand frigate battling stormy waves hung on the wall. Instantly captivated, I wanted something similar for our home as a gift for my wife. Yet, despite weeks of searching, I couldn’t find a piece that was both beautiful and affordable. That’s when inspiration struck: what if I created such an image using AI? And even better, what if the painting could regenerate itself daily? If AI could produce a unique image each time, why not have it mirror reality, reflecting the actual weather or even the rising and setting sun?
AI on Canvas
AI on Canvas is the realization of that idea. A digital artwork, framed in an antique wooden picture frame, that portrays ships on the high seas in a variety of artistic styles—while dynamically incorporating real-time weather conditions. It’s a fusion of tradition and technology, where each day brings a new masterpiece shaped by the elements themselves.
How It Works
At the heart of this dynamic artwork is a Raspberry Pi 3B running Raspbian OS, a lightweight Debian-based system that orchestrates the entire process—handling both image generation and display. Here’s how it all comes together:
- At 06:45, a smart plug powers up the system.
- The Raspberry Pi boots into the desktop environment.
- A script automatically launches the image viewer feh.
- Every three hours, a cron job kicks in, running a series of Python scripts in sequence:
- get-weather.py: Fetches real-time weather data from an API based on the selected location.
- generate-prompt.py: Crafts a Stable Diffusion prompt using the weather data and other dynamic elements.
- generate-image.py: Sends the prompt to a Stable Diffusion model hosted on replicate.com and downloads the generated image.
- The image viewer
fehcontinuously refreshes the display, updating the artwork as new images are created. - At 21:00, a shutdown script gracefully powers down the Raspberry Pi.
- Five minutes later, the smart plug cuts power, ensuring energy efficiency.
Display and Frame
Perhaps the trickiest challenge was finding the perfect wooden frame to match the display I scored on eBay Kleinanzeigen for just 30 EUR. Most frames were either too big, too small, or completely wrong in aspect ratio. After days of patient searching (and maybe a bit of stubbornness), I finally tracked down a few that fit just right. Or let’s say mostly right. Some adjustments had to be made.
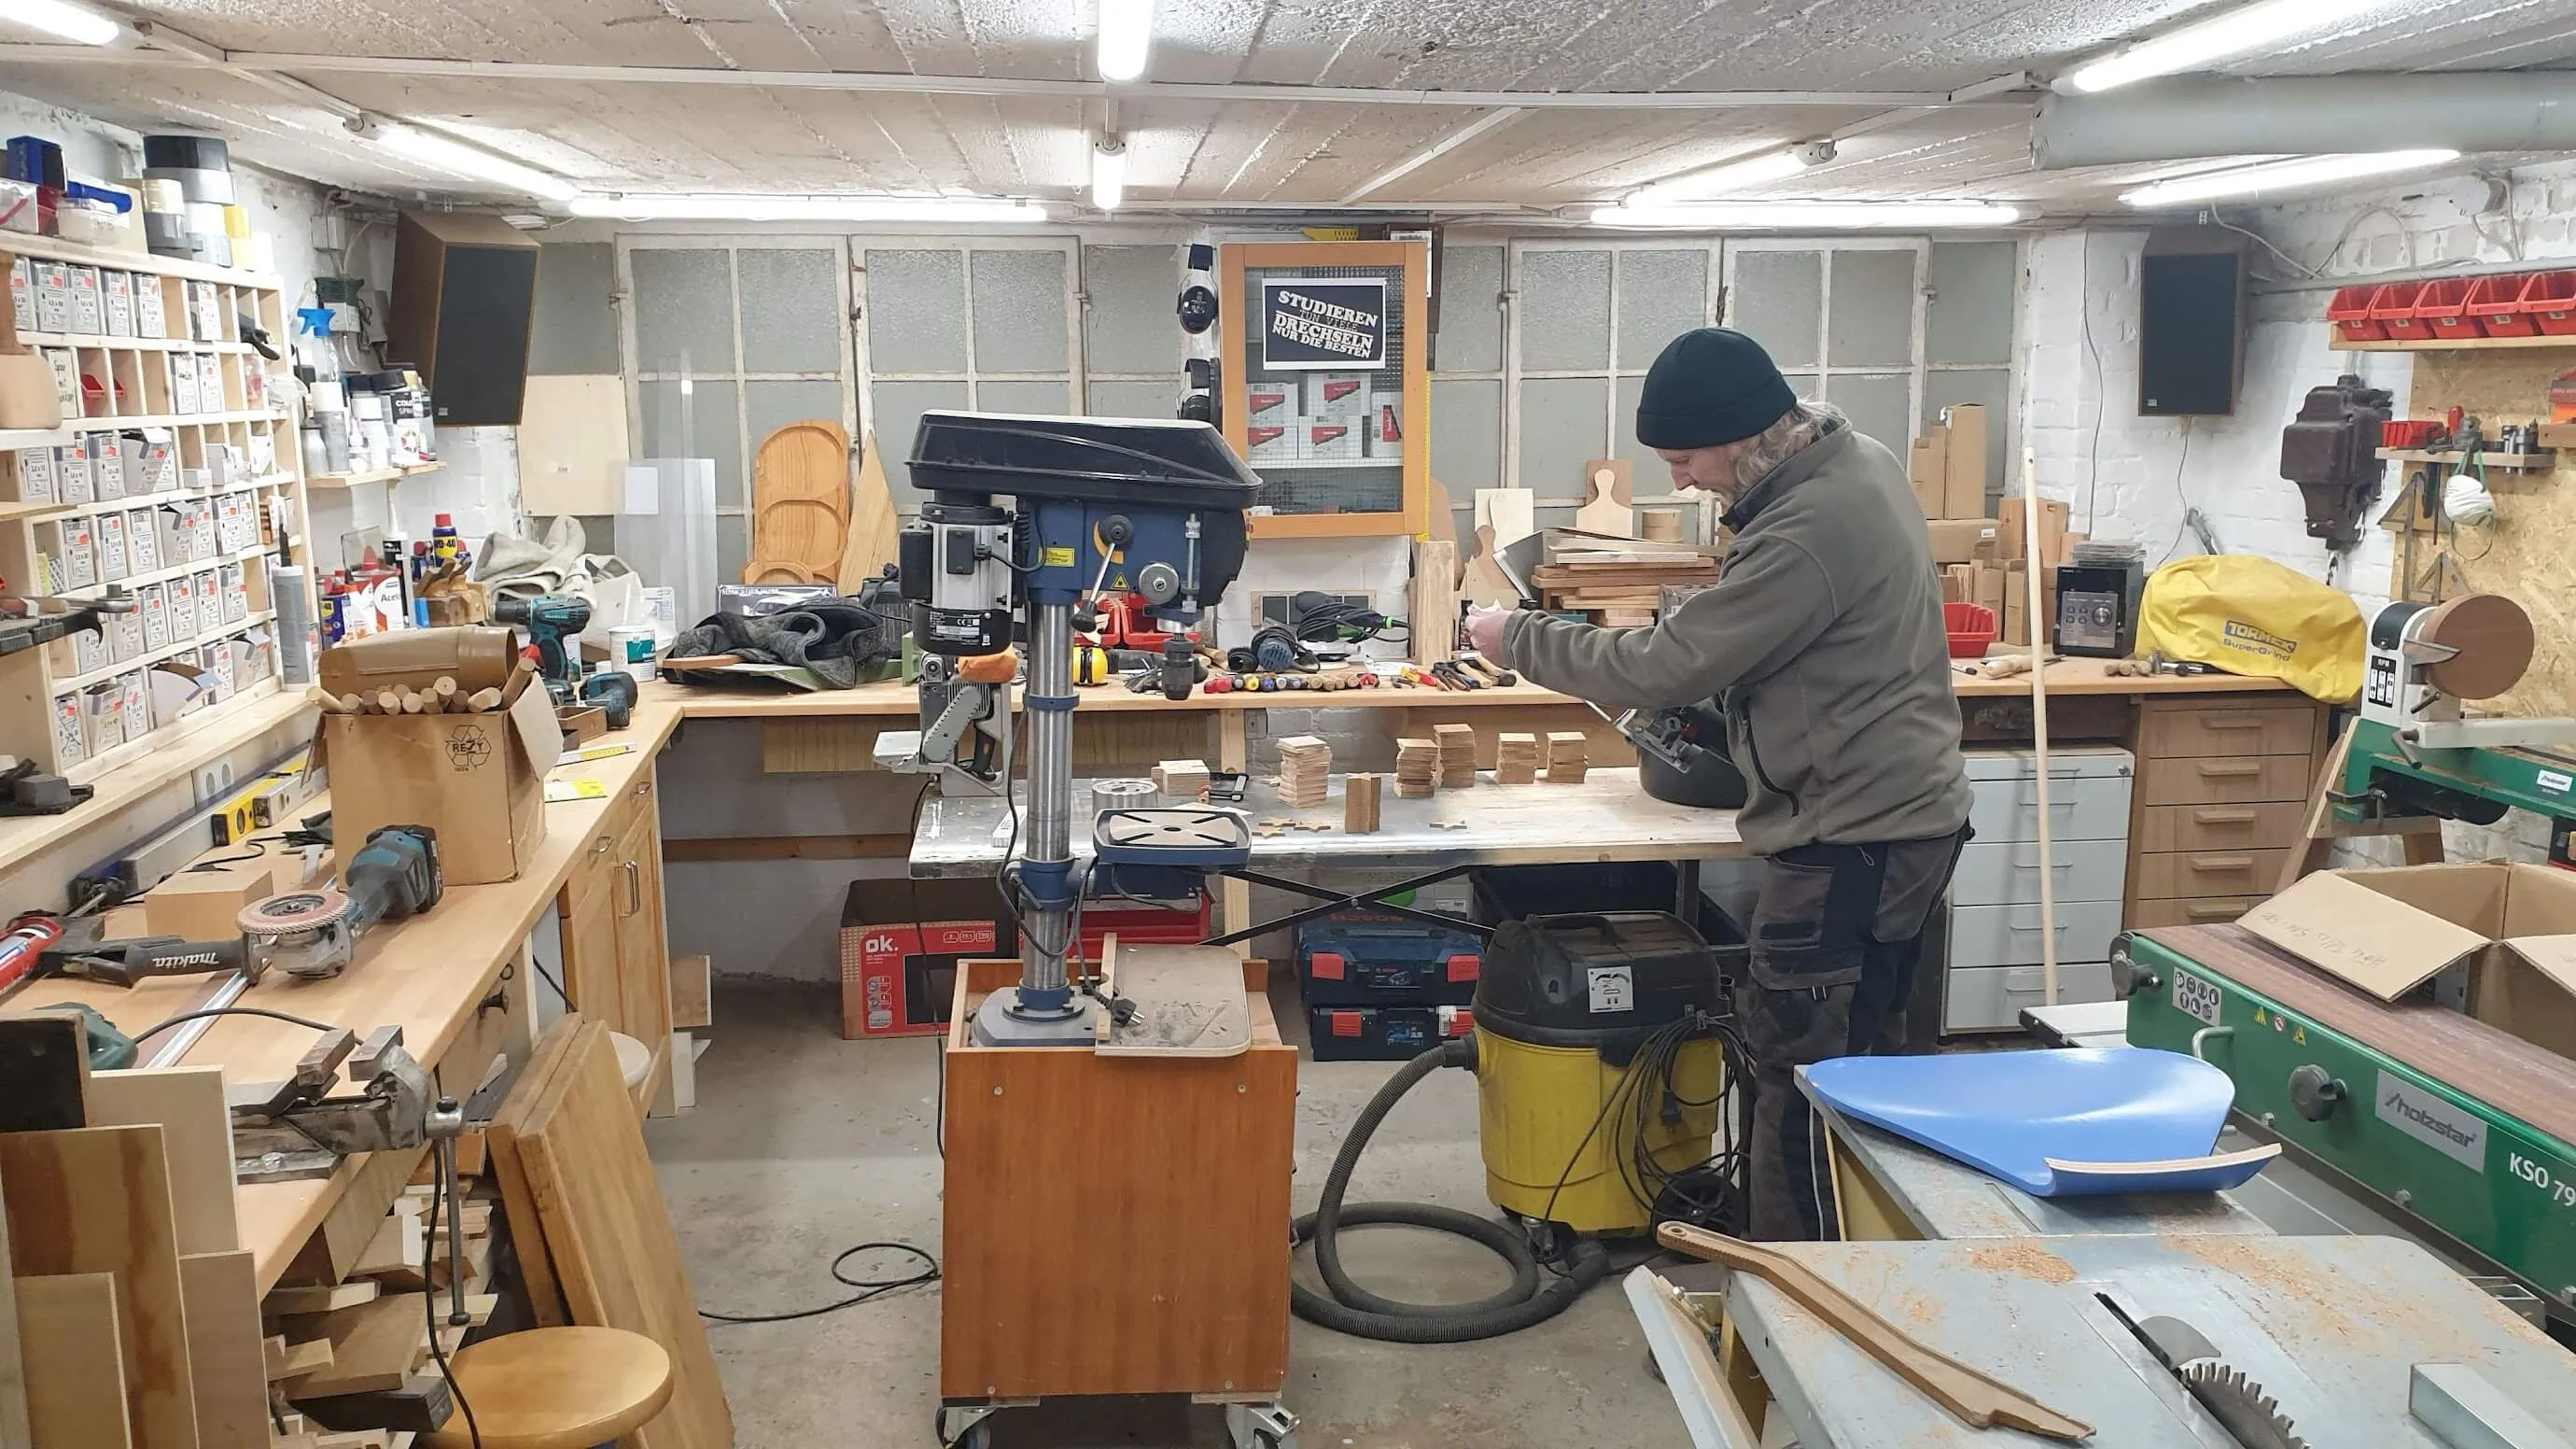 My friend Fons’ amazing wood workshop.
The display area slightly exceeds the inner dimensions of the frame, which works out perfectly, as it ensures the edges of the display remain out of sight. However, the back of the frame was just a bit too large for the illusion I was aiming for. To solve this, I trimmed the back of the frame to precisely fit the display.
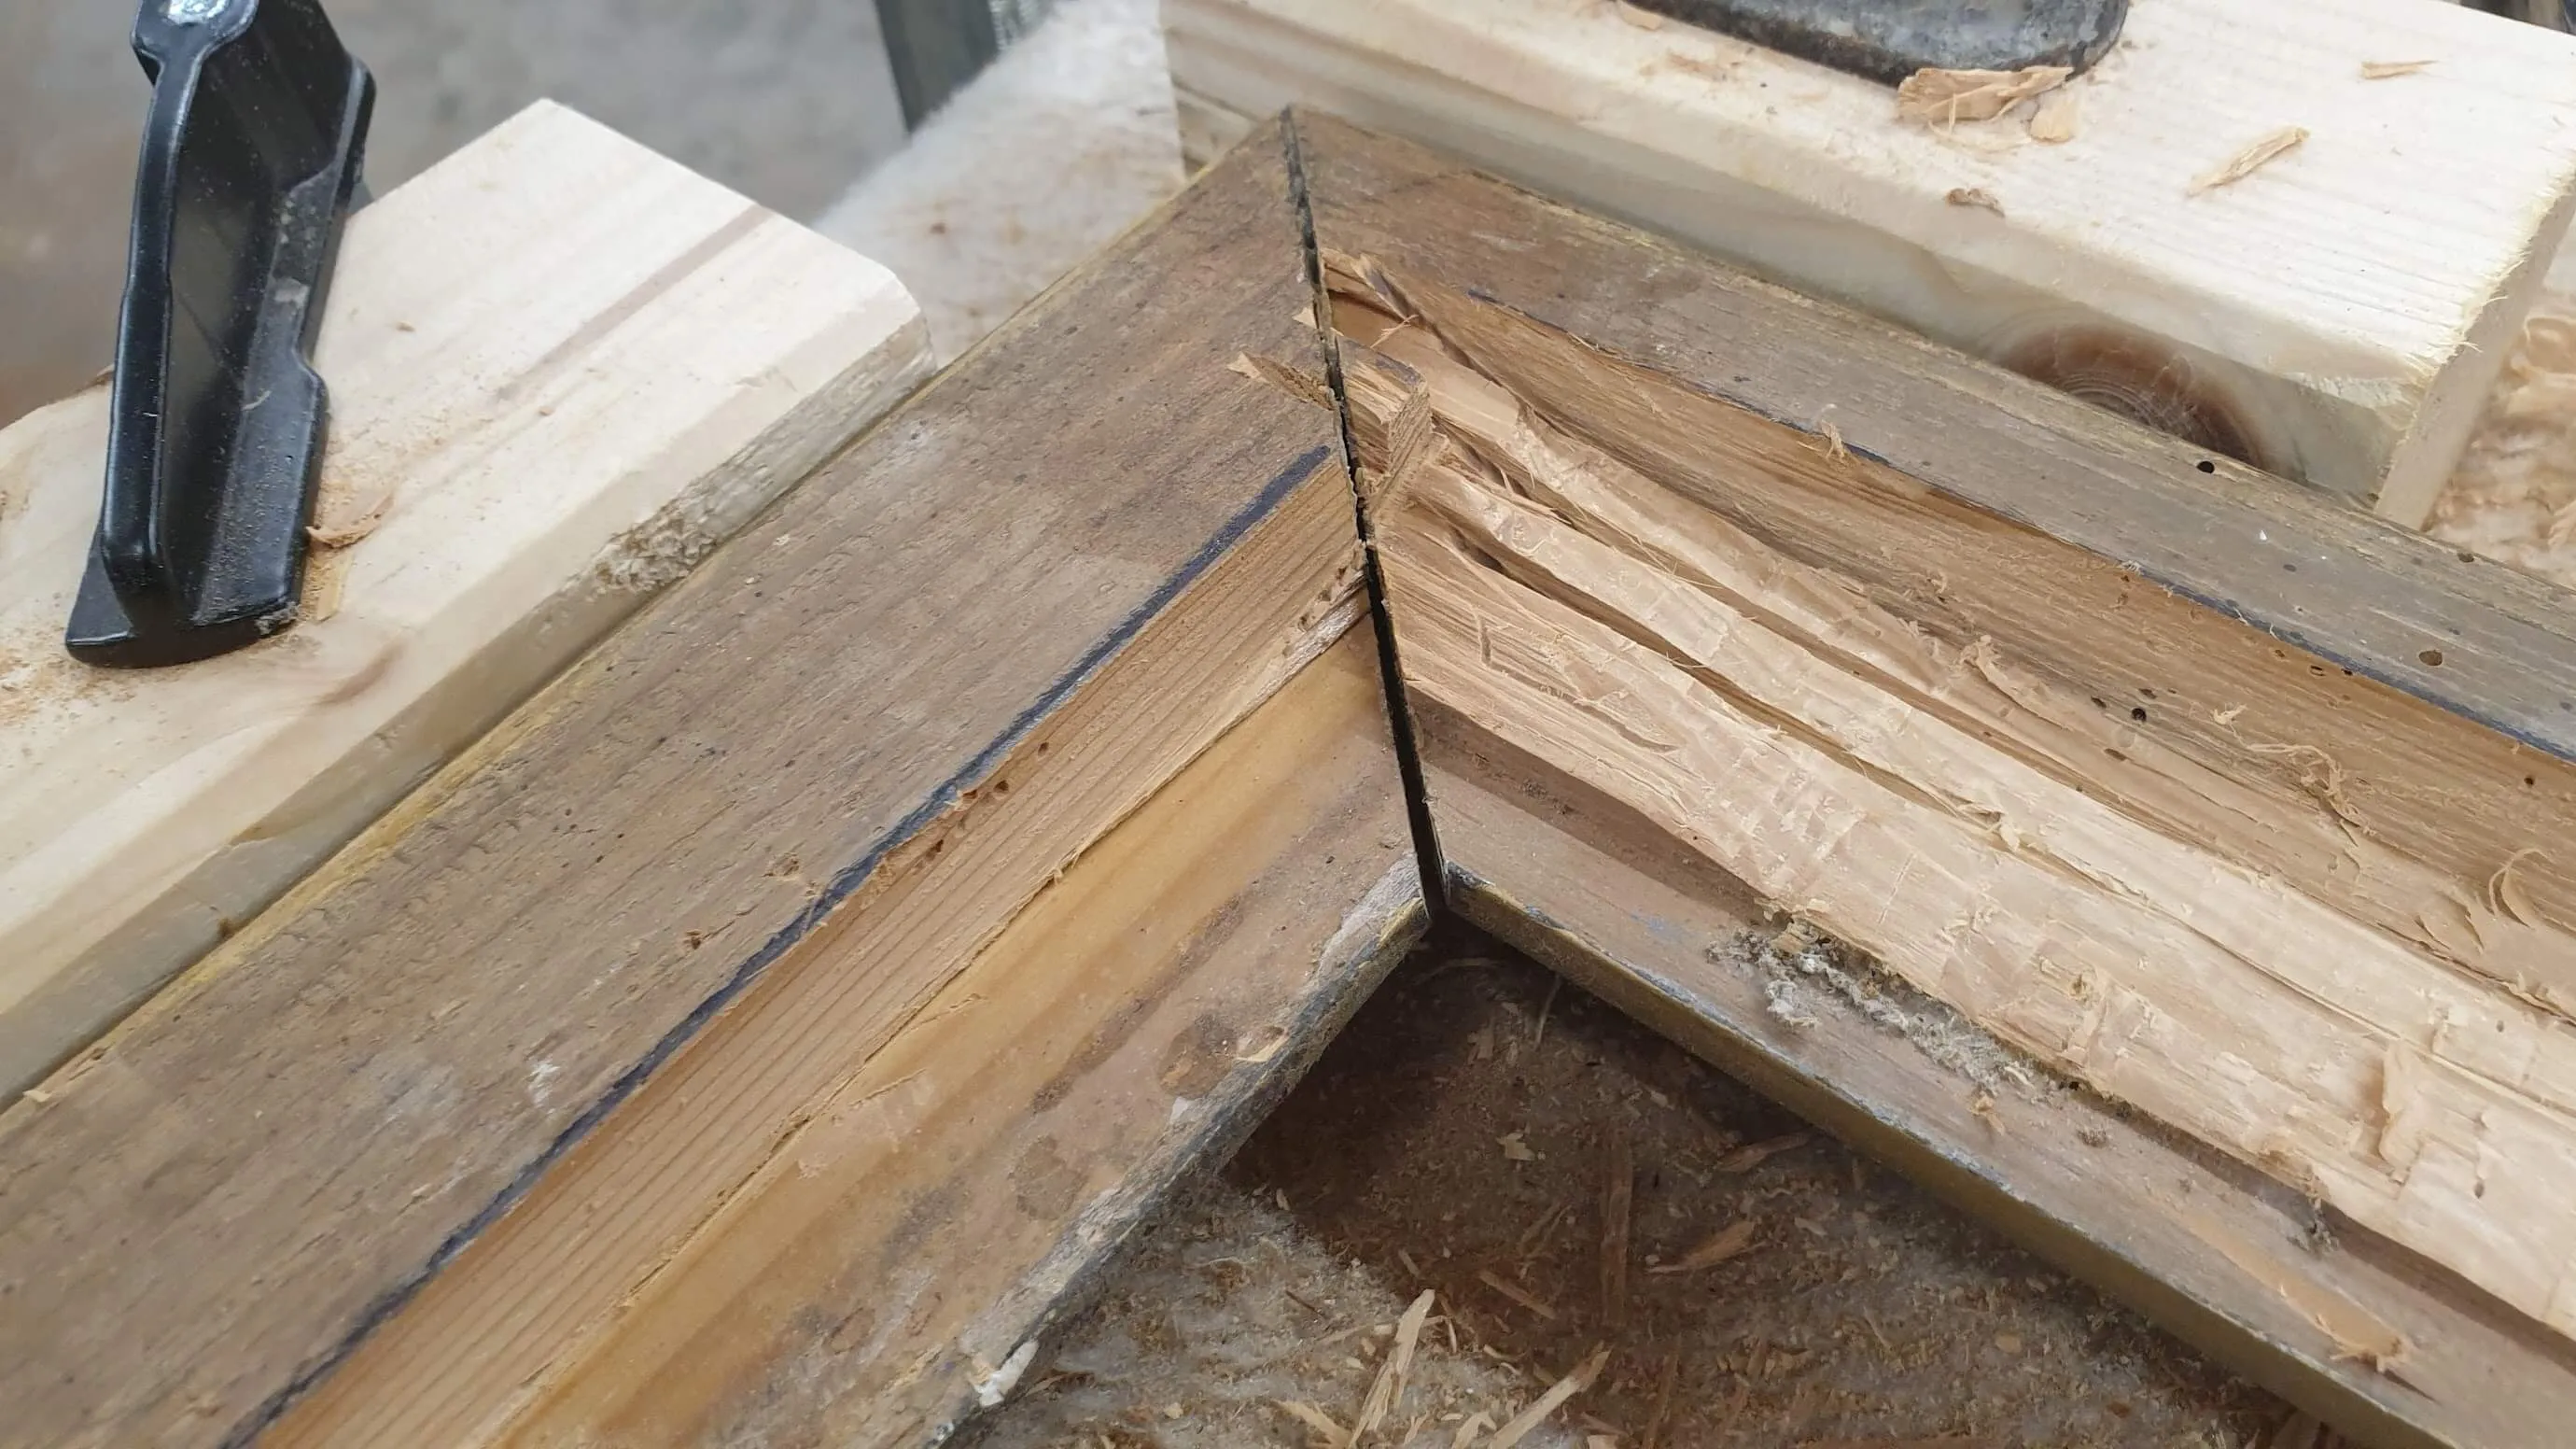 The left side before the wood removed, the right side after.
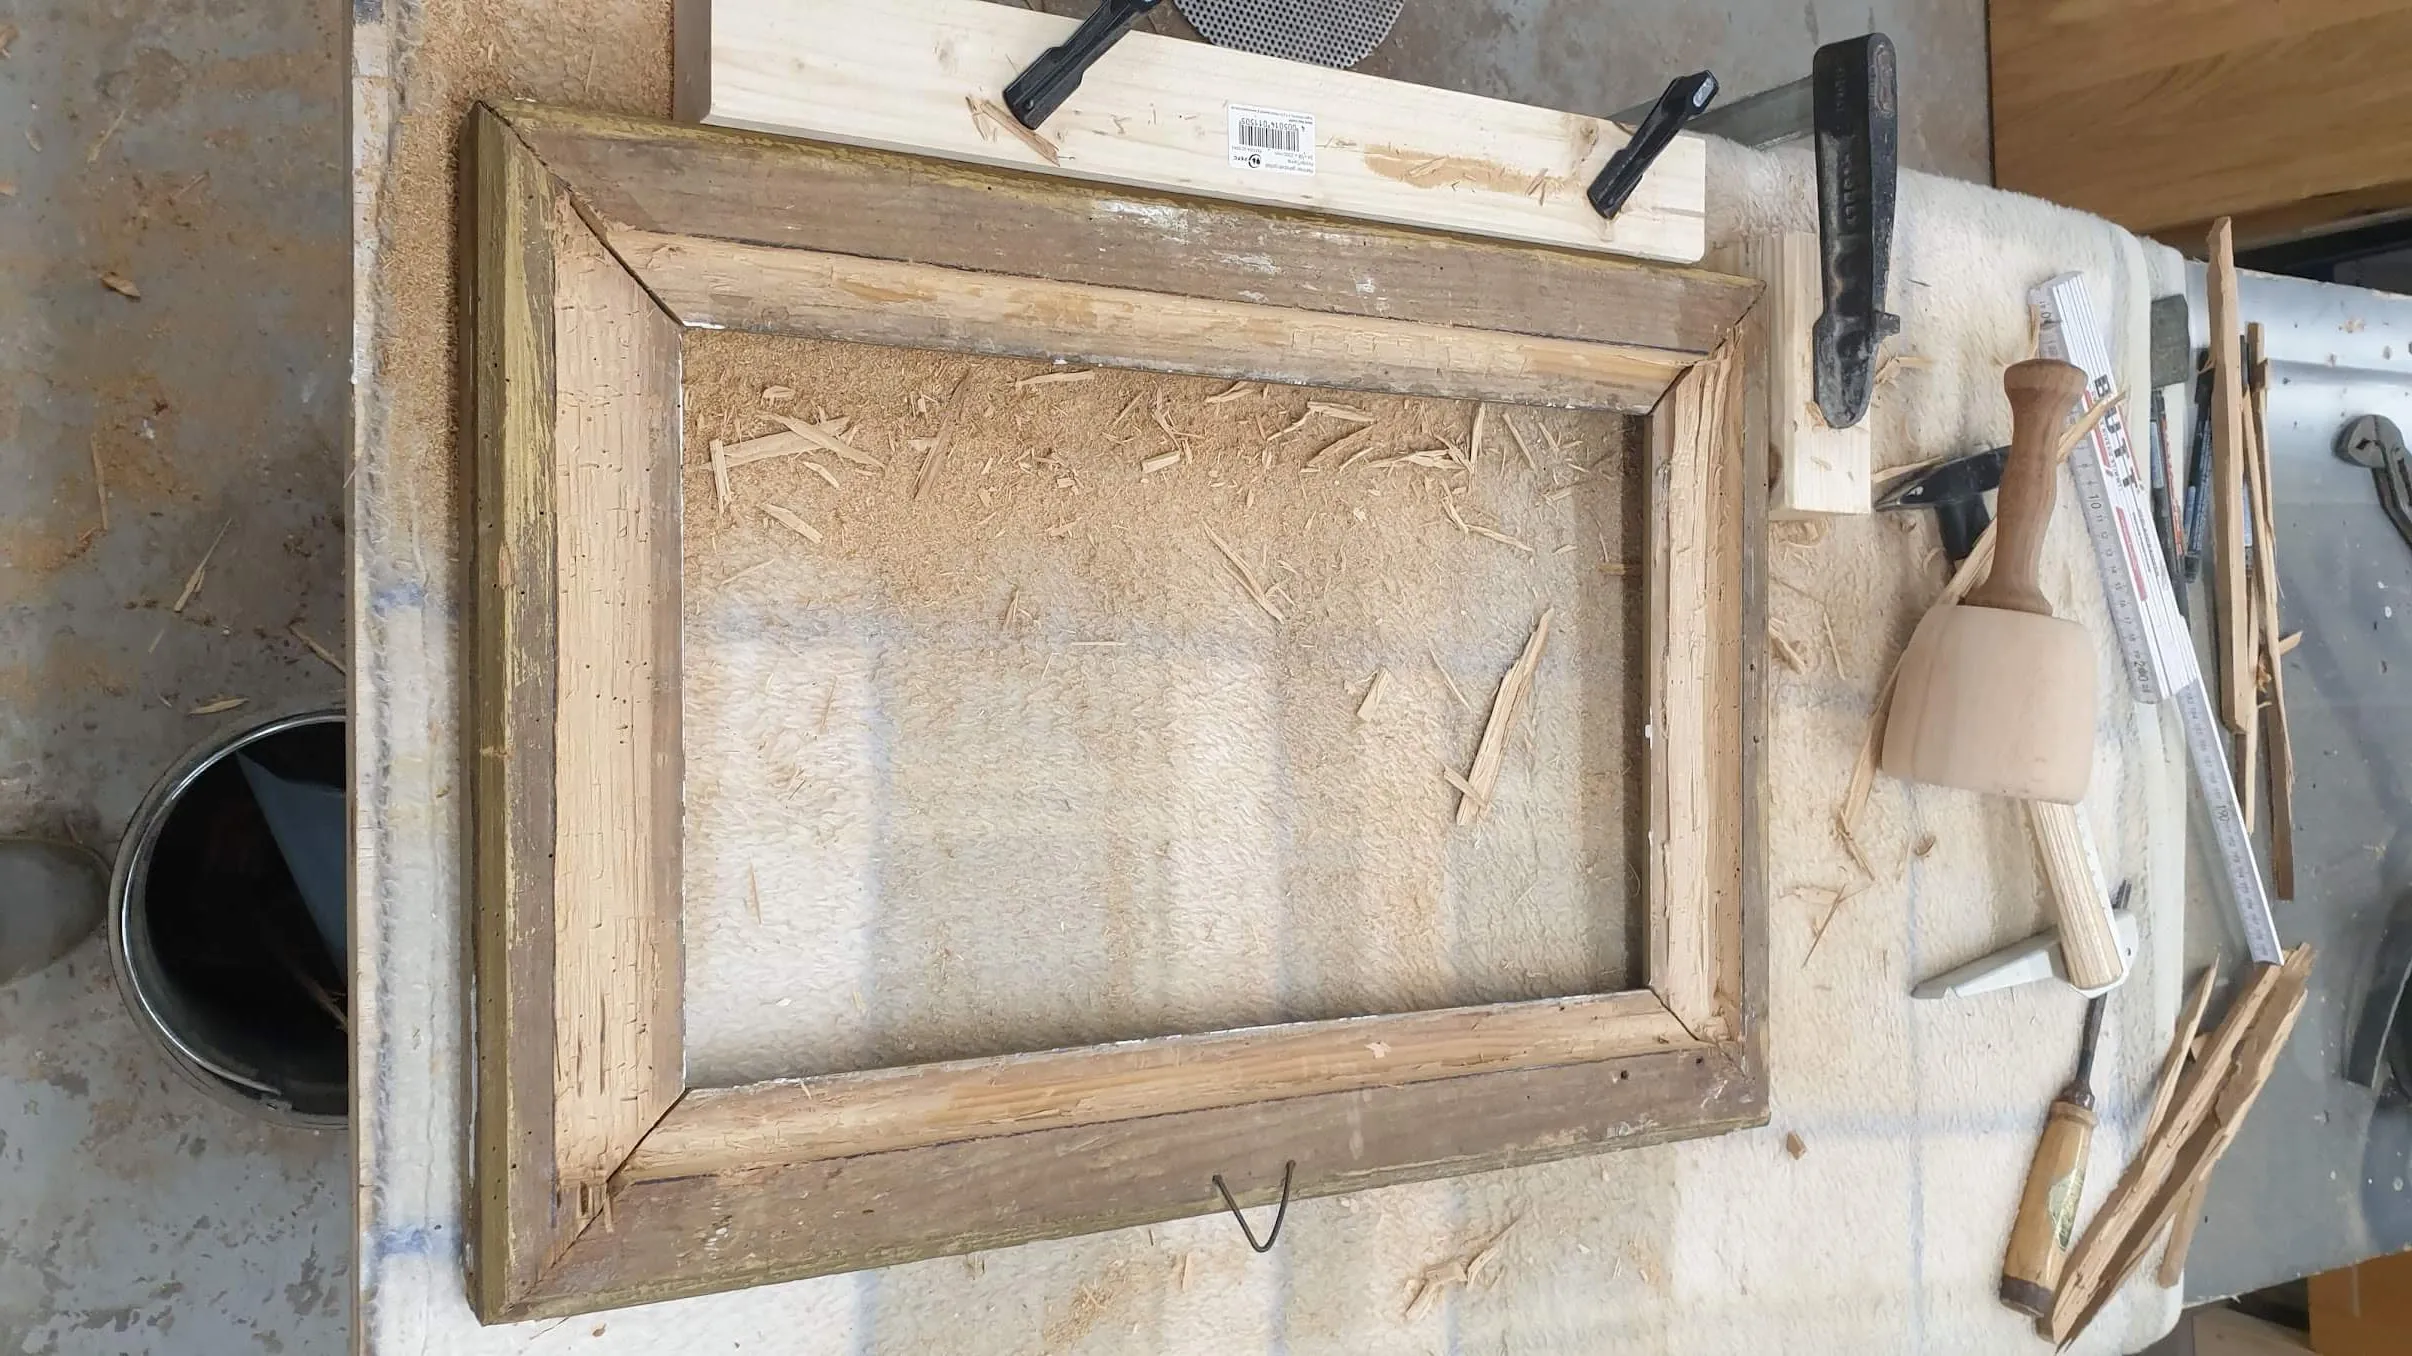 The back of the frame with the carved out wood.
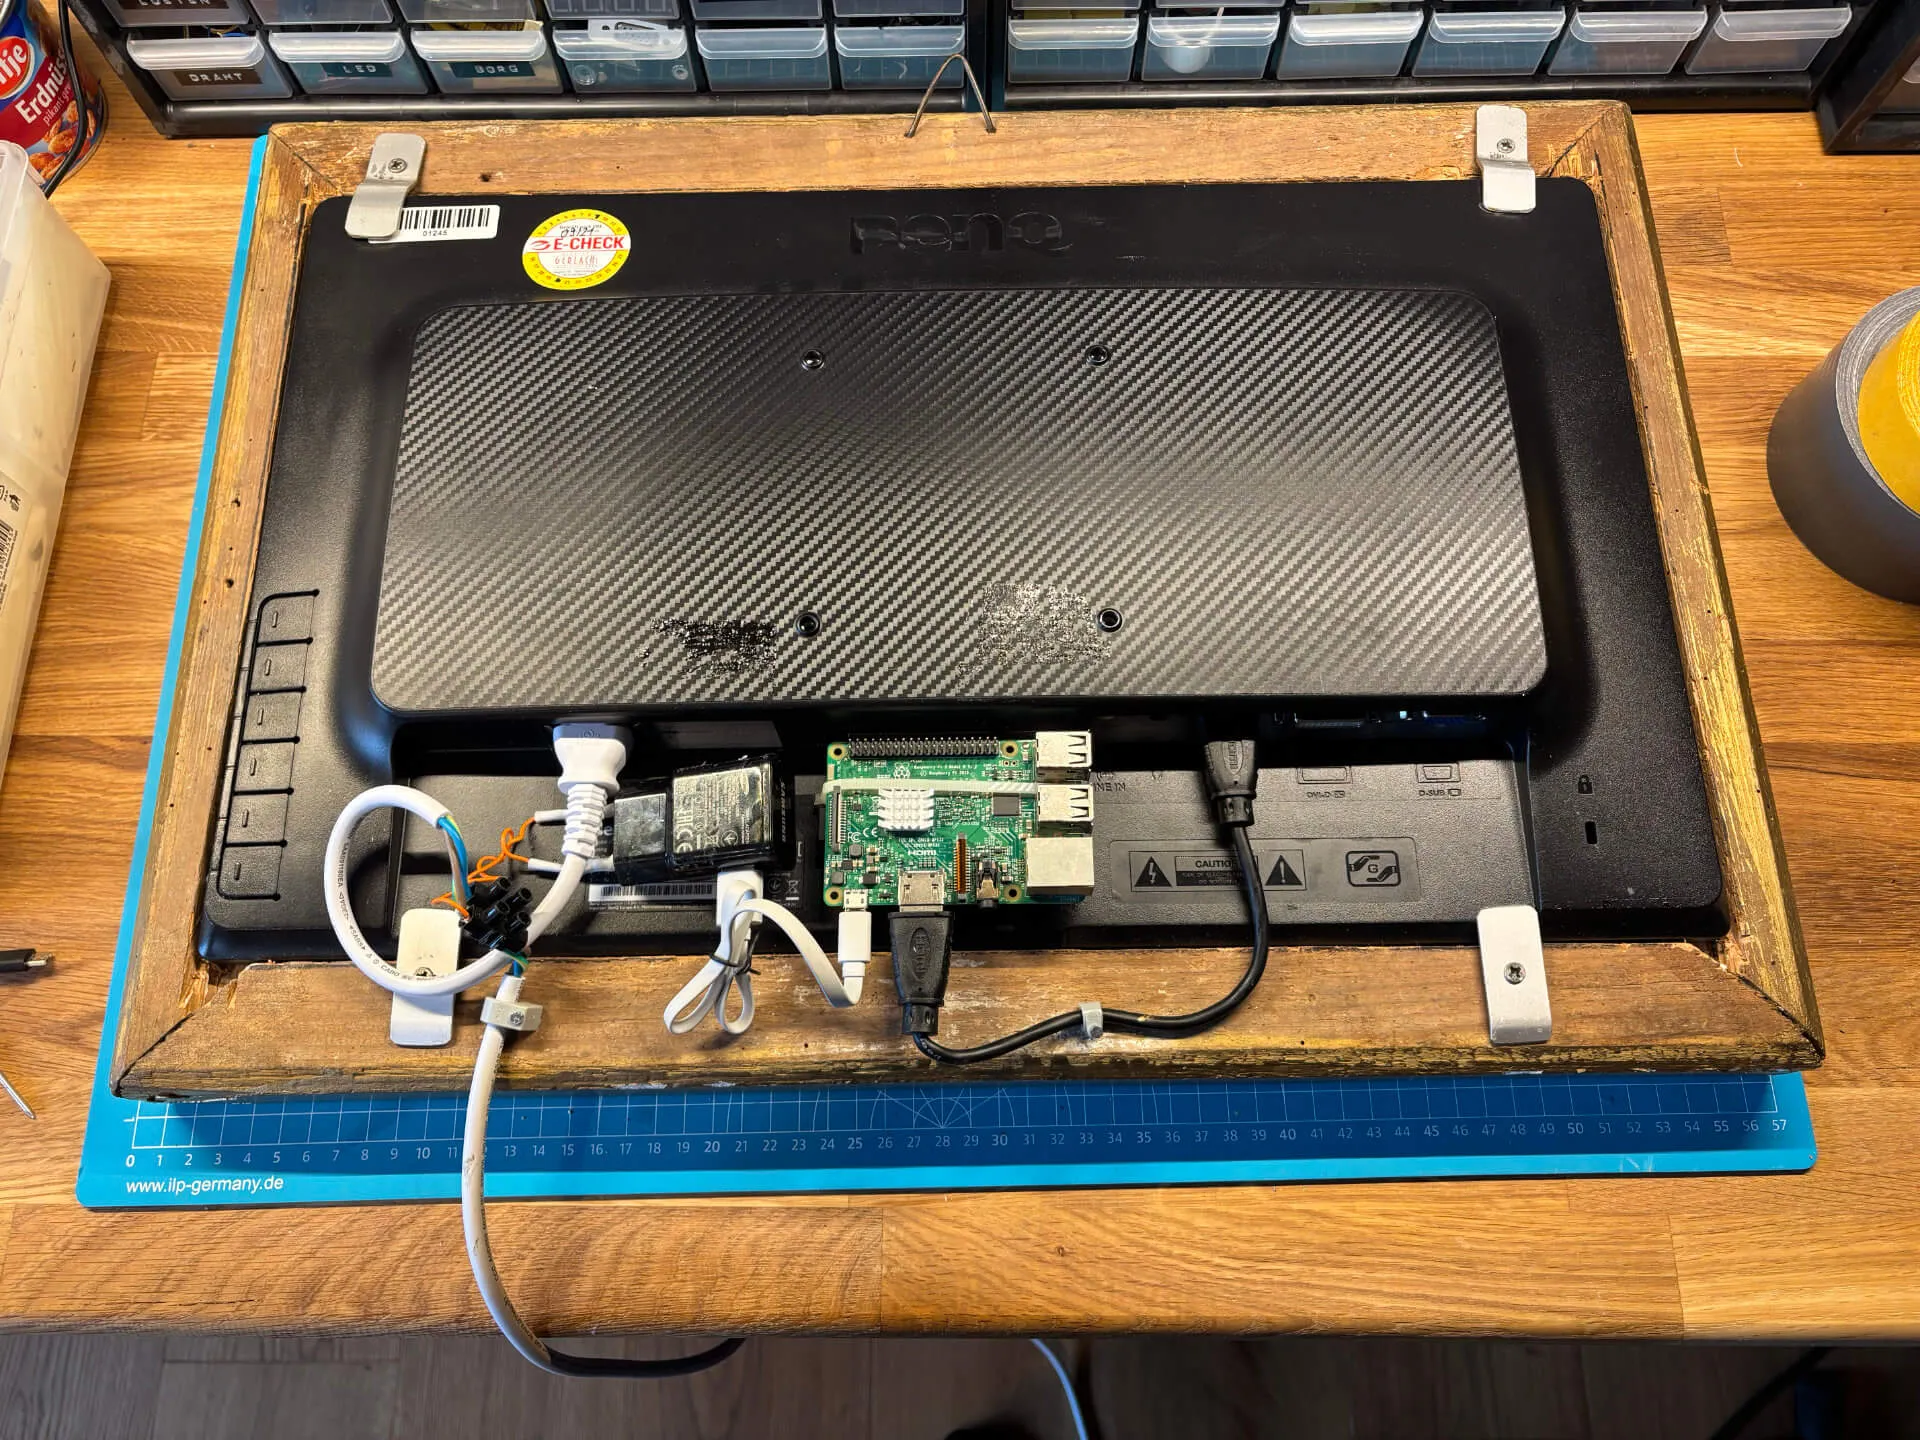
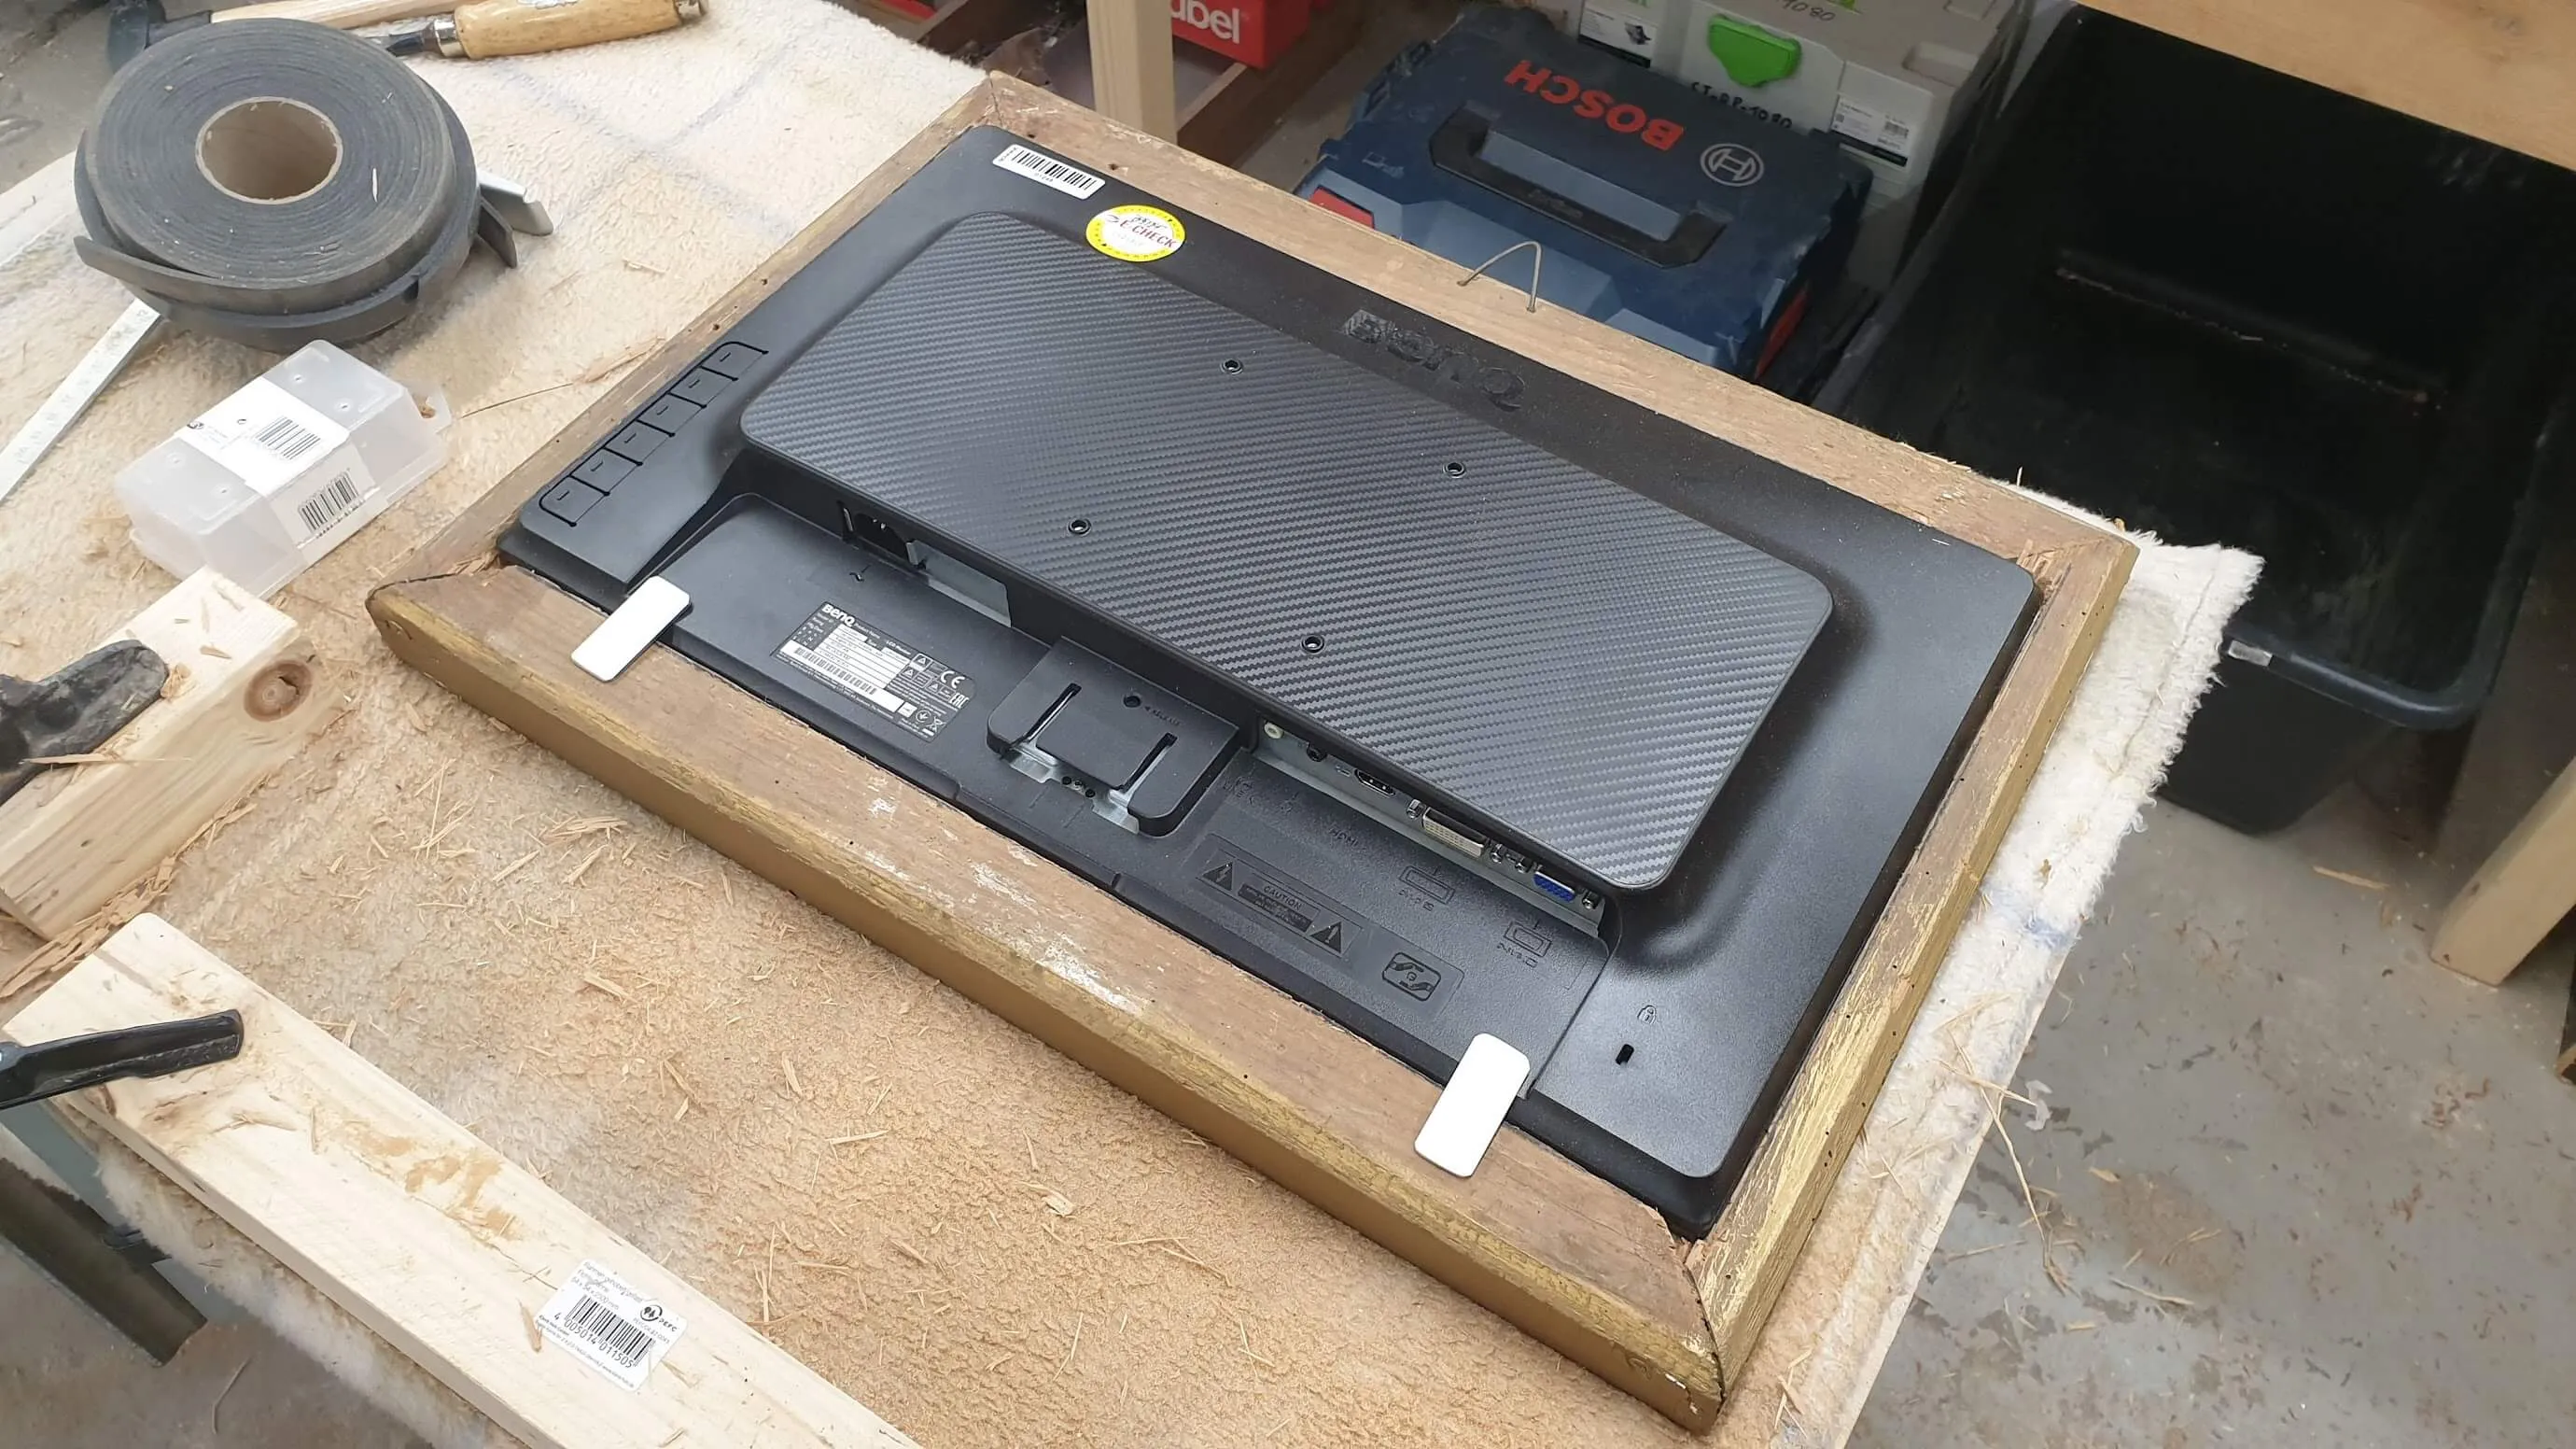 The display fits in perfectly, held be metal brackets.
Not shown in the pictures, I spray-painted the frame with a gold finish to give it a fresh, updated look.
Electronics
The HDMI display features an integrated power supply and uses a standard power cord. The Raspberry Pi is powered by a USB power supply with at least 2 Amps of output. To avoid having two cables protruding from the back of the frame, I combined the USB power supply with the display’s power cable using a terminal block. Needless to say, this is not a safe way to handle the power supply, and I would never recommend it. It works for this project, but if you notice a lack of updates in the future, you can probably blame this hack.
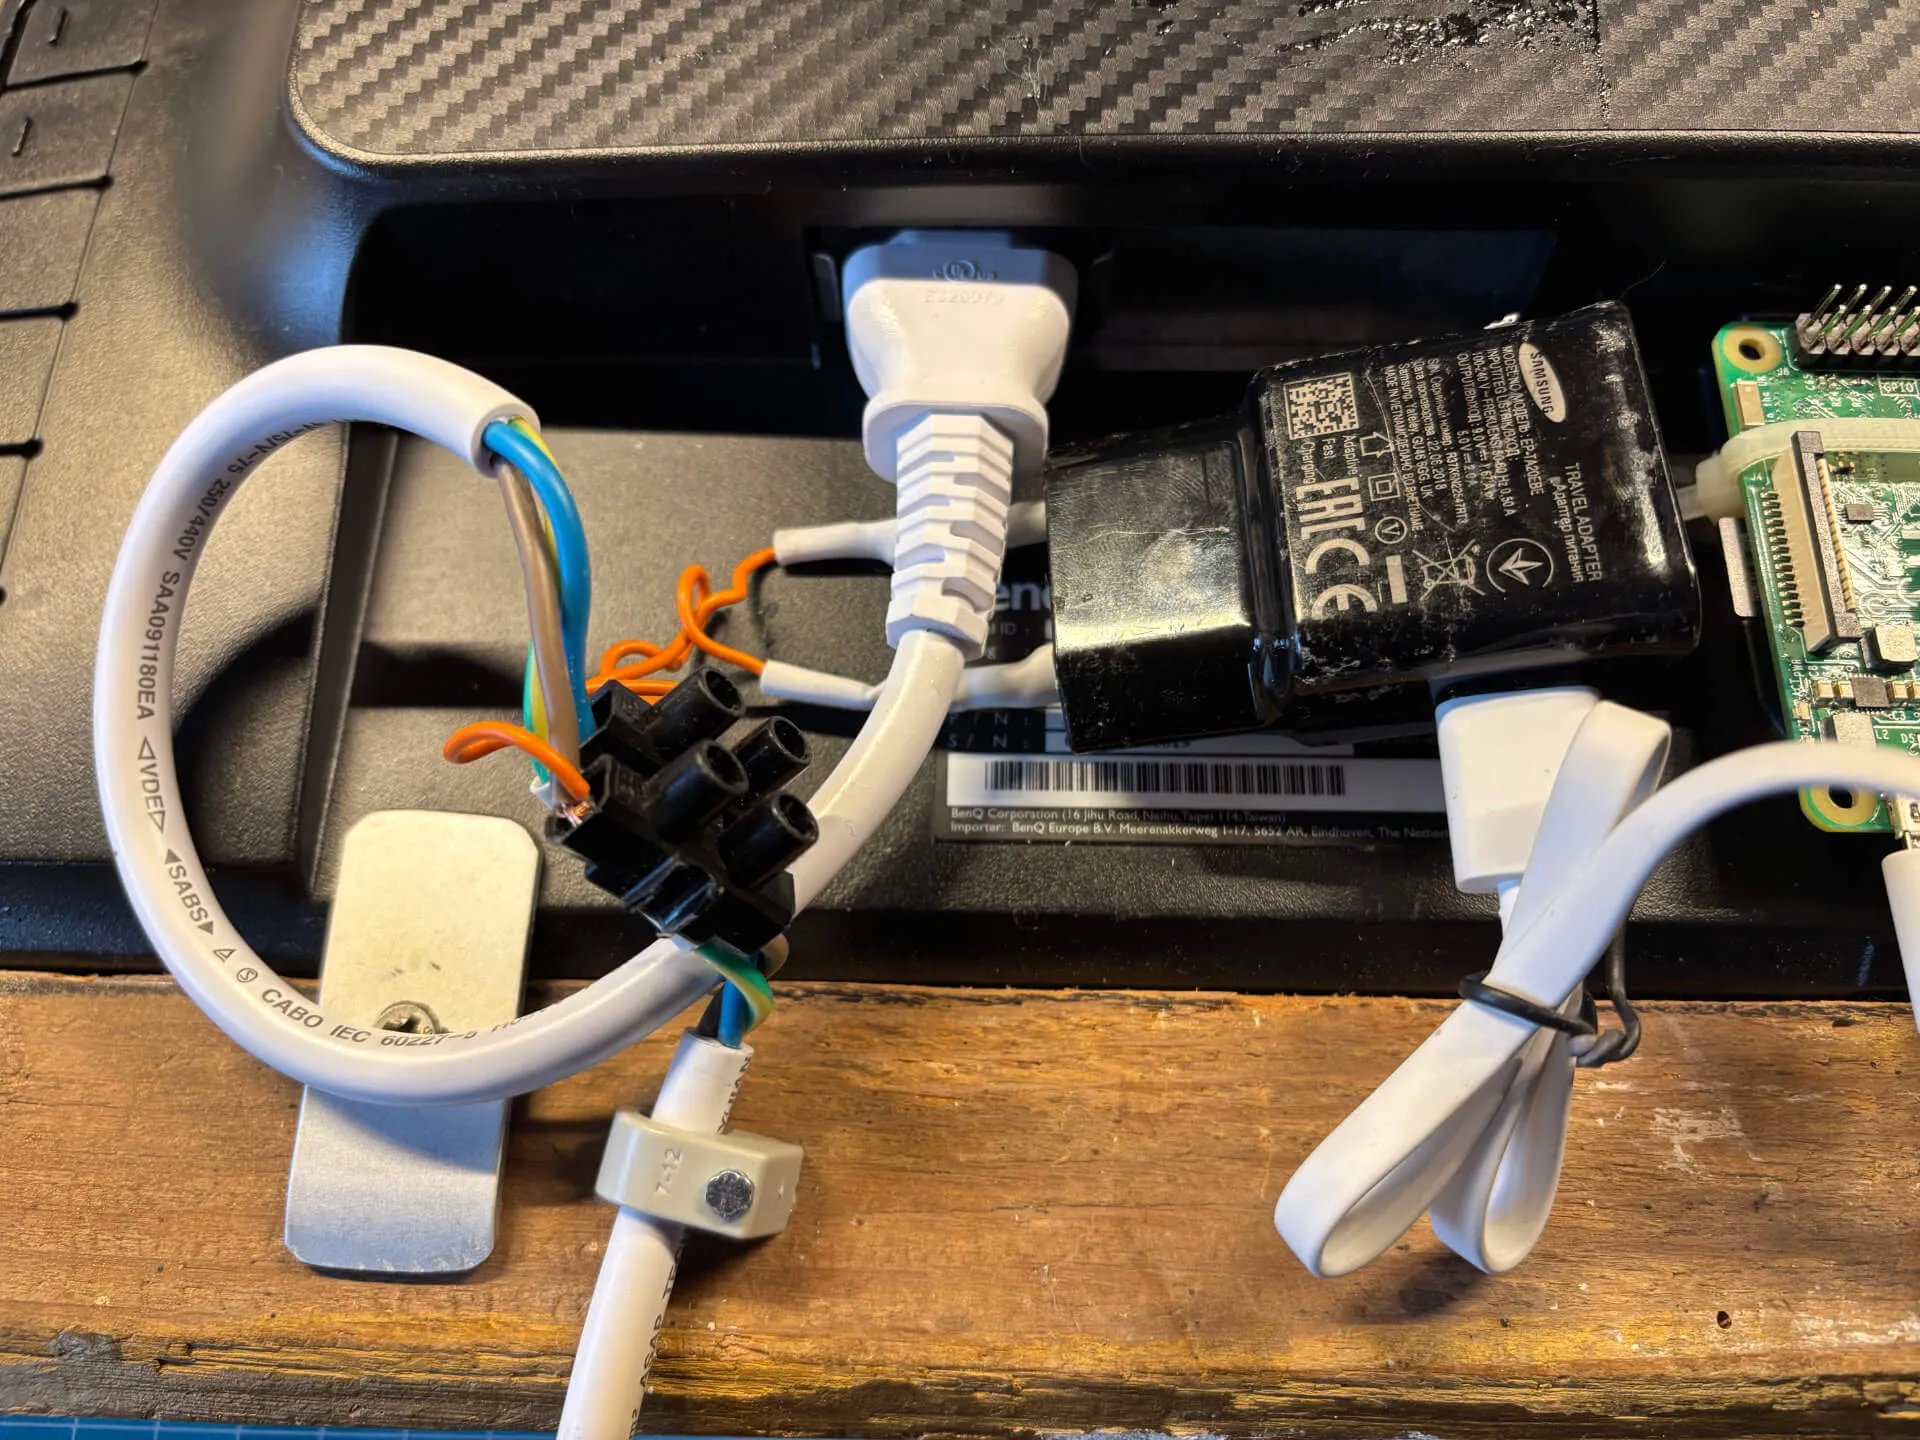 Don’t do this at home, kids.
Seriously, DO NOT TRY THIS AT HOME. Might be okay at work though, check with compliance.
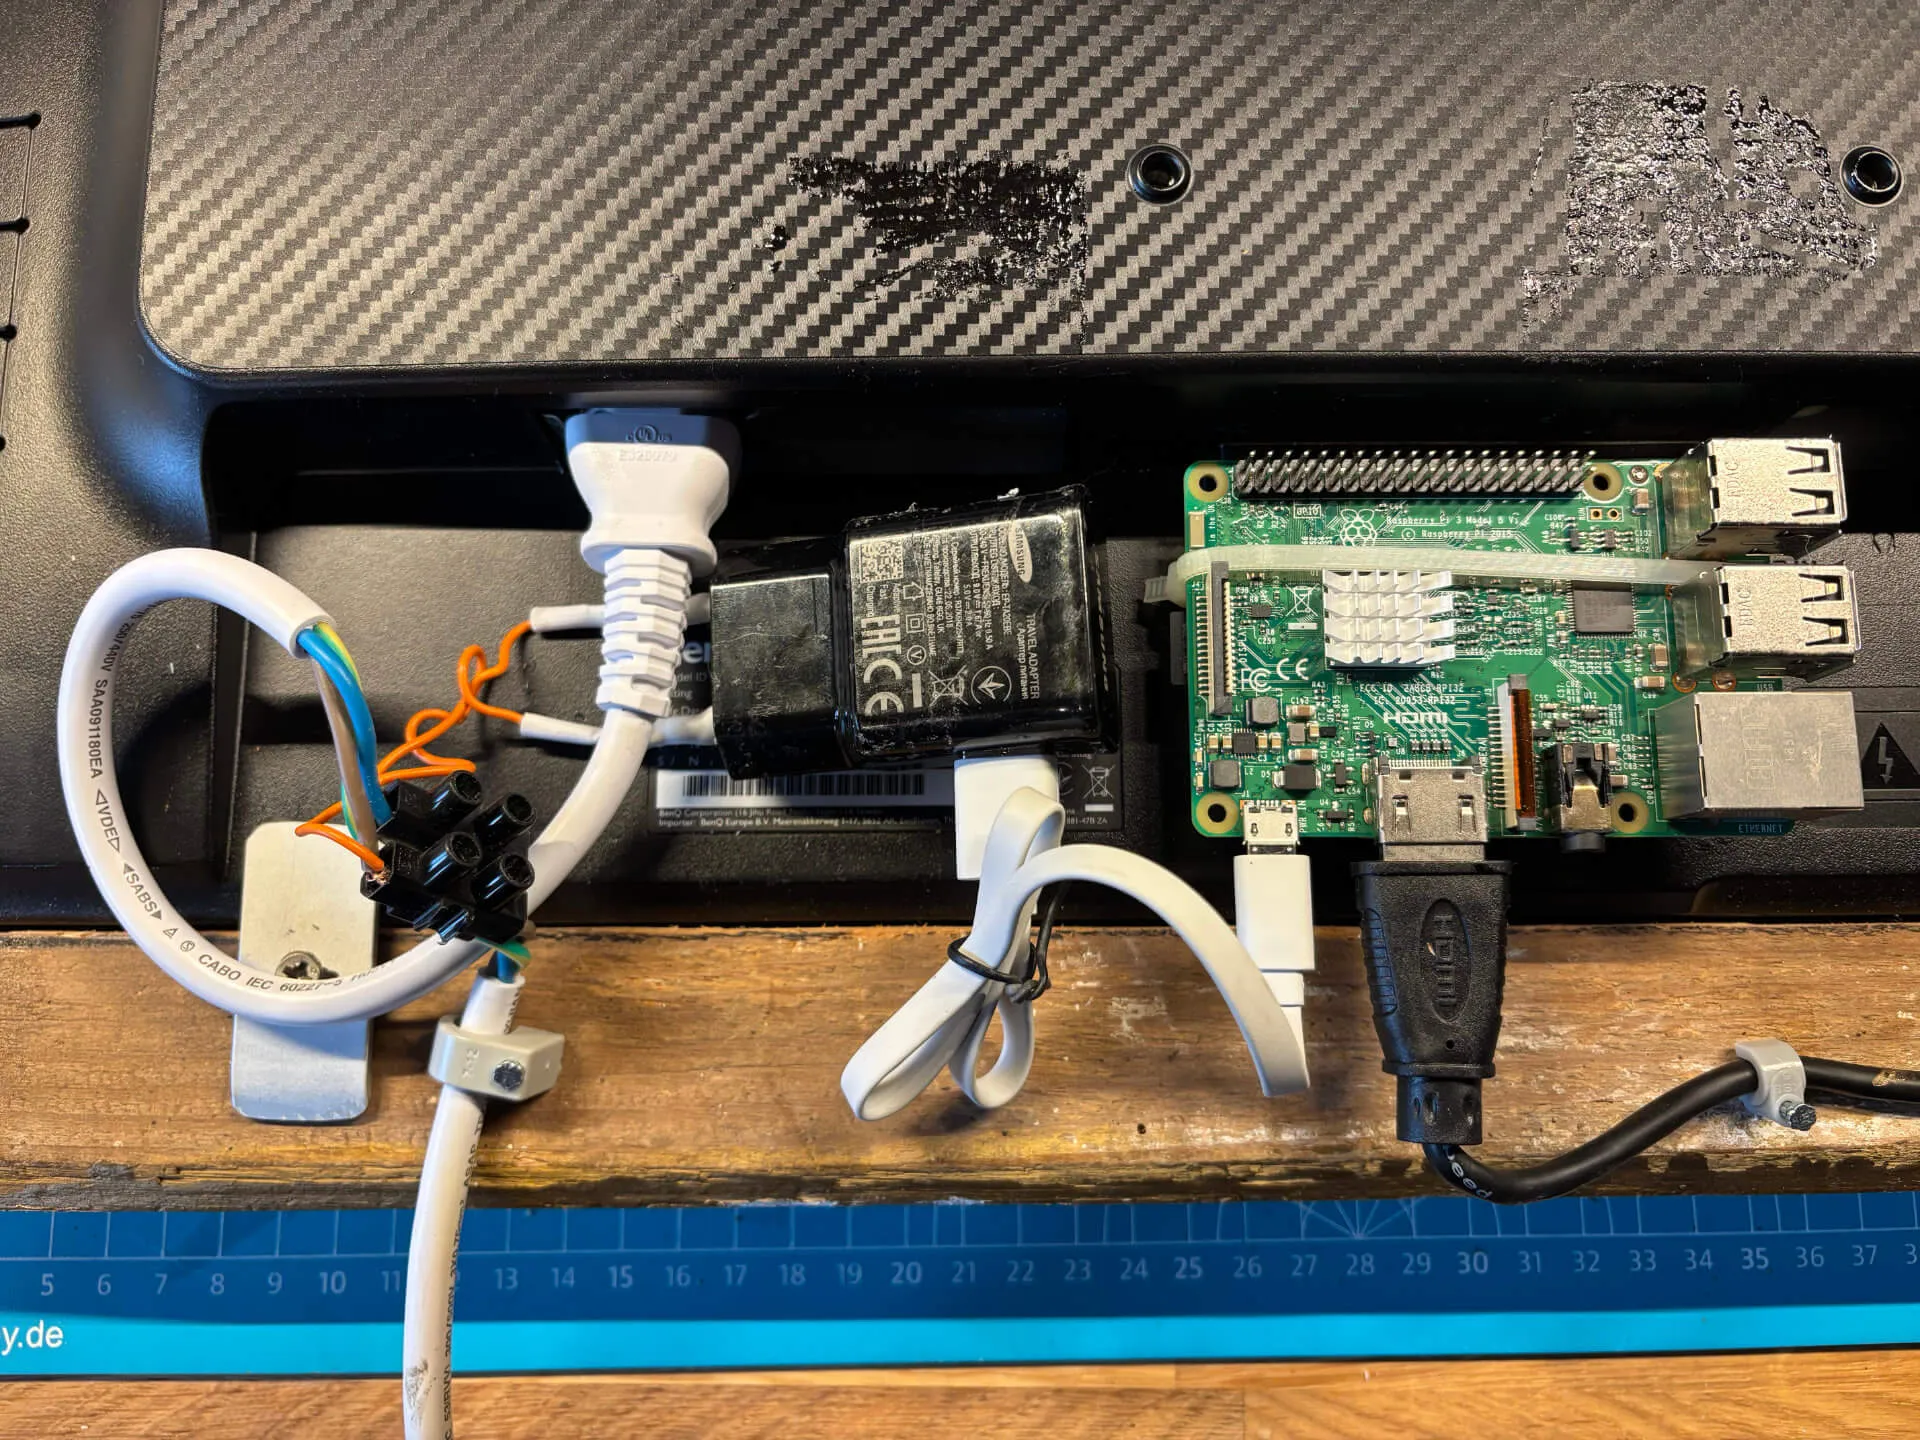 The Raspberry Pi is secured with cable ties.
These pictures were taken recently for this blog post. Previously, the Pi was housed in a 3D-printed case, but overheating was a persistent issue. So, I added heatsinks to the ICs and removed the case entirely. Since then, I haven’t had any heat-related problems.
 I used to shortest HDMI cable I could find.
As you can see, there’s a lot going on at the back of the display. The cables are the biggest challenge. The white power cable is just a bit too short, and its position isn’t ideal when the frame is mounted on the wall. Additionally, the HDMI Mini connector is slightly too large, leaving very few options for securely attaching the Raspberry Pi to the display.
All things considered, the back of the display isn’t the most aesthetically pleasing. I wouldn’t build it this way again, but I didn’t want to remove the back panel to make room for extra hardware. Since picture frames are rarely moved around, I’m okay with this rather hacky solution.
Bill Of Materials
This build ended up being a bit more expensive than usual, thanks to the Raspberry Pi and the HDMI display. However, here’s a great trick to keep costs down: always buy more parts than you need for a project. Then, you can claim, “I only used spare parts I had lying around,” and reduce the official project expenses significantly!
| Part | Info | Where to get | Cost |
|---|---|---|---|
| Raspberry Pi 3 | No need for anything better | Amazon | 43 EUR |
| Display | Buy second hand. They are literally free on eBay | Second hand on eBay | 30 EUR |
| Wooden Frame | Actually got 3 for this price | Second hand on eBay | 18 EUR |
| Wifi Power Plug | As long as you can set a schedule, any will do | Amazon | 10 EUR |
| Micro SD card 8GB | 4GB might work, too. Always choose a quality brand | Amazon | 7 EUR |
| Golden Spray Paint | Any brand will do | Amazon | 6 EUR |
| HDMI cable | Keep it short | Amazon | 5 EUR |
| USB power supply | Make sure it’s at least 2 Ampere | Amazon | 4 EUR |
| Various little parts | Mostly to secure the electronics | 1 EUR | |
| Total cost | 124 EUR |
For me, the actual cost of the project was almost nothing. I mostly used spare parts I had lying around. That’s it for the hardware. Now let’s talk about the software.
Software
One of the key advantages of the Raspberry Pi over an ESP32 microcontroller is its ability to run a full operating system. This makes it much easier to run the required software and manage the Wi-Fi connection, which should be set up first. Additionally, running cron jobs on a Raspberry Pi is a breeze. But let’s start with the core of the project, the main code.
I won’t dive too deeply into the specifics of the code here, but I’ll provide a high-level overview. You can find the full code on my GitHub account.
Fetching the Local Weather
To fetch the current weather for a specific location, I used the open-meteo.com API. It’s free, doesn’t require authentication, and returns a JSON object containing current weather data. The endpoint for retrieving the weather data is simple to use (I’ve shortened the response here for readability):
curl https://api.open-meteo.com/v1/forecast?latitude=52.173&longitude=7.5474&hourly=temperature_2m,rain,snowfall,cloudcover,windspeed_10m&daily=sunrise,sunset&timezone=Europe%2FBerlin
{
"latitude": 52.168,
"longitude": 7.54,
"generationtime_ms": 0.12636184692382812,
"utc_offset_seconds": 3600,
"timezone": "Europe/Berlin",
"timezone_abbreviation": "GMT+1",
"elevation": 42,
"hourly_units": {
"time": "iso8601",
"temperature_2m": "°C",
"rain": "mm",
"snowfall": "cm",
"cloudcover": "%",
"windspeed_10m": "km/h"
},
"hourly": {
"time": [
"2025-03-03T00:00",
"2025-03-03T01:00",
"2025-03-09T23:00"
],
"temperature_2m": [
0.2,
-0.1,
6.9
],
"rain": [
0,
0,
0
],
"snowfall": [
0,
0,
0
],
"cloudcover": [
1,
0,
31
],
"windspeed_10m": [
0.7,
1.1,
8
]
},
"daily_units": {
"time": "iso8601",
"sunrise": "iso8601",
"sunset": "iso8601"
},
"daily": {
"time": [
"2025-03-03",
"2025-03-04",
"2025-03-09"
],
"sunrise": [
"2025-03-03T07:10",
"2025-03-04T07:08",
"2025-03-09T06:57"
],
"sunset": [
"2025-03-03T18:12",
"2025-03-04T18:14",
"2025-03-09T18:23"
]
}
}
Upon receiving the weather information, the script get-weather.py processes and refines the data, appending additional contextual details such as the current time and the ongoing season. This results in a structured JSON object, which is then saved to a file for further use.
{
"temp": 2.1,
"rain": 0,
"snow": 0,
"clouds": 100,
"wind": 1.4,
"sunrise": "07:10",
"sunset": "18:12",
"now_hour": 22,
"now_minute": 25,
"now_as_minutes": 1345,
"today": "2025-03-03 22:25:14.468632",
"season": "spring",
"sunrise_as_minutes": 430,
"sunset_as_minutes": 1092,
"is_daylight": false,
"is_sunrise": false,
"is_sunset": false,
"is_day": true
}
Generating the Prompt
The next step in the process is to create the prompt for the AI model, which is handled by the generate-prompt.py script. This script takes the weather data from the file, processes it, and generates a prompt with several additional refinements. This is where much of the “magic” happens.
Here’s how the code generates the prompt based on the weather data:
def generate_prompt(weather):
"""Generate the complete image prompt."""
conditions = generate_weather_conditions(weather)
event = get_random_event()
style = get_artistic_style()
prompt = f"A sailing ship at the sea{event}, {conditions}, {style}"
print(prompt)
return {"prompt": prompt}
def generate_weather_conditions(weather):
"""Generate weather condition descriptions."""
conditions = []
if weather["rain"]: conditions.append("raining")
if weather["is_sunrise"]: conditions.append("at sunrise")
if weather["is_sunset"]: conditions.append("at sunset")
if weather["clouds"] <= 20: conditions.append("clear sky")
if weather["clouds"] >= 50: conditions.append("cloudy sky")
if weather["wind"] <= 5: conditions.append("no wind")
if weather["wind"] >= 5: conditions.append("wind blowing")
if weather["snow"] >= 1: conditions.append("snowing")
conditions.append("at daylight" if weather["is_daylight"] else "at night")
if not weather["is_daylight"] and weather["clouds"] <= 20:
conditions.append("bright stars shining")
return ", ".join(conditions)
In addition, two more functions are involved. get_random_event() makes the scene more interesting:
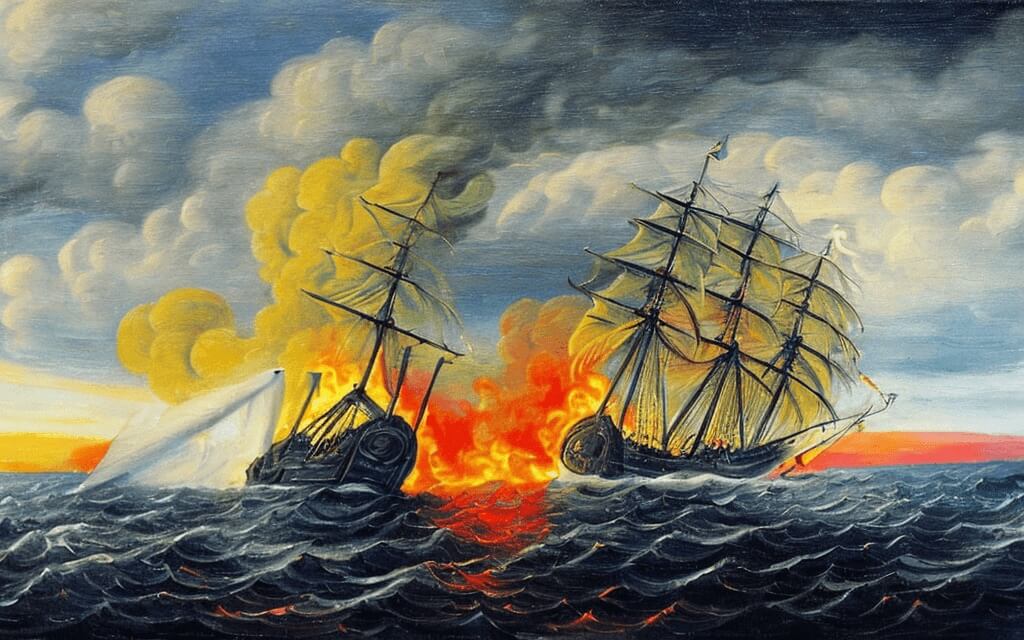
EVENTS = [
"the ship is burning in flames",
"a huge comet is glowing in the sky",
"a giant sea monster is attacking the ship",
"a lighthouse can be seen in the distance",
"another ship is attacking",
"tentacles rise out of the water",
"dolphins are jumping out of the water"
]
def get_random_event():
"""Add a random dramatic event with 1/8 probability."""
return f", {random.choice(EVENTS)}" if random.randint(1, 8) == 1 else ""
And get_artistic_style() adds a random artistic style to the prompt:
ARTISTS = [
"baroque oil on canvas",
"Andy Warhol",
"Jackson Pollock",
"Roy Lichtenstein",
"Monet",
"Piet Mondrian",
"Gustav Klimt",
"Leonardo DaVinci"
]
def get_artistic_style():
"""Get artistic style with 1/5 probability of non-baroque."""
return (f"in the style of a {random.choice(ARTISTS)} painting"
if random.randint(1, 5) == 1
else "in the style of a baroque oil on canvas painting")
Both functions introduce a random element to the prompt with a certain probability. The goal is to maintain consistency in the generated scenes while introducing slight variations now and then to keep the viewer engaged. The final prompt is then saved to a file.
Here are some examples of the generated prompts:
- A sailing ship at the sea, cloudy sky, wind blowing, at night, in the style of a Gustav Klimt painting
- A sailing ship at the sea, tentacles rise out of the water, clear sky, no wind, at night, in the style of a baroque oil on canvas painting
- A sailing ship at the sea, dolphins are jumping out of the water, cloudy sky, no wind, at sunset, in the style of a baroque oil on canvas painting
Generating the Image
Now that we’ve defined the weather and artistic style for the painting and saved it as a prompt, the next step is to generate the image itself. This is handled by generate-image.py. The script reads the prompt from the file and sends it to the image-generating AI model at Replicate.com. The result is a PNG image that gets saved to a file.
Replicate.com is a platform for AI models that provides an easy-to-use API for interacting with them. To use their API, you’ll need to create an account, but the cost of querying the models is relatively low. For example, my total bill for last month was just $0.34 for generating 88 images.
The image generation process is also fast, typically taking between 2.6 and 16 seconds, depending on factors like the model’s startup time, the GPU used, and the resolution of the generated image. For my needs, the 1024x640 resolution works perfectly.
 The created images can be seen in the user’s account on replicate.com.
Two Cron Jobs
With the individual scripts set up, the next step is to automate their execution in the correct order. This is accomplished with a shell script, which is then triggered by a cron job. In my case, the cron job runs every three hours.
#!/bin/bash
python3 /home/pi/Code/aidisplay/get-weather.py && \
python3 /home/pi/Code/aidisplay/generate-prompt.py && \
python3 /home/pi/Code/aidisplay/generate-image.py
The scripts are executed one after the other, but only if the previous script was successful. If any of the scripts fails, the cron job halts and the image won’t be generated.
To set up the cron job, open your terminal and enter crontab -e. Then, adapt the following line with your paths, API token from replicate.com, and desired schedule for execution:
0 */3 * * * REPLICATE_API_TOKEN=<API TOKEN> /home/pi/Code/aidisplay/cron.sh >> /home/pi/Code/aidisplay/log.txt >2&1
This will run the cron job every three hours, logging the output to a log.txt file so you can track whether the job ran successfully. Next, edit the root crontab for shutdown privileges. You can do this by running sudo crontab -e in the terminal. Add the following line to ensure the Raspberry Pi shuts down automatically at 21:00 each day:
00 21 * * * sudo shutdown
Start Script
There’s just one more step left: ensuring the image viewer feh automatically starts when the Raspberry Pi boots up. To do this, you’ll need to edit the system profile. Start by running sudo nano /etc/profile and at the end of the file, add these lines:
export REPLICATE_API_TOKEN=<API TOKEN>
nohup feh -F --zoom fill -D30 -R30 /home/pi/Code/aidisplay/images/current.png
This command sets up feh to display the image in fullscreen mode (-F), filling the entire screen (—zoom fill). The -D30 option sets the image to display for 30 seconds, and -R30 makes feh check for new images every 30 seconds. You can tweak these values as needed. While the API token is not strictly necessary for feh to work, it’s helpful if you need to manually run the script in an interactive shell for testing.
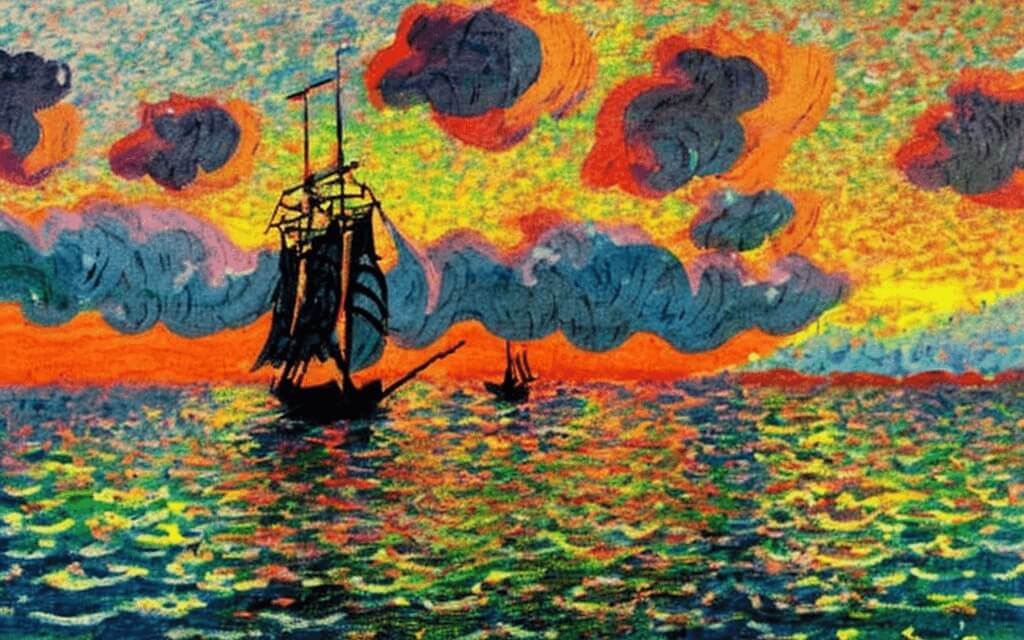
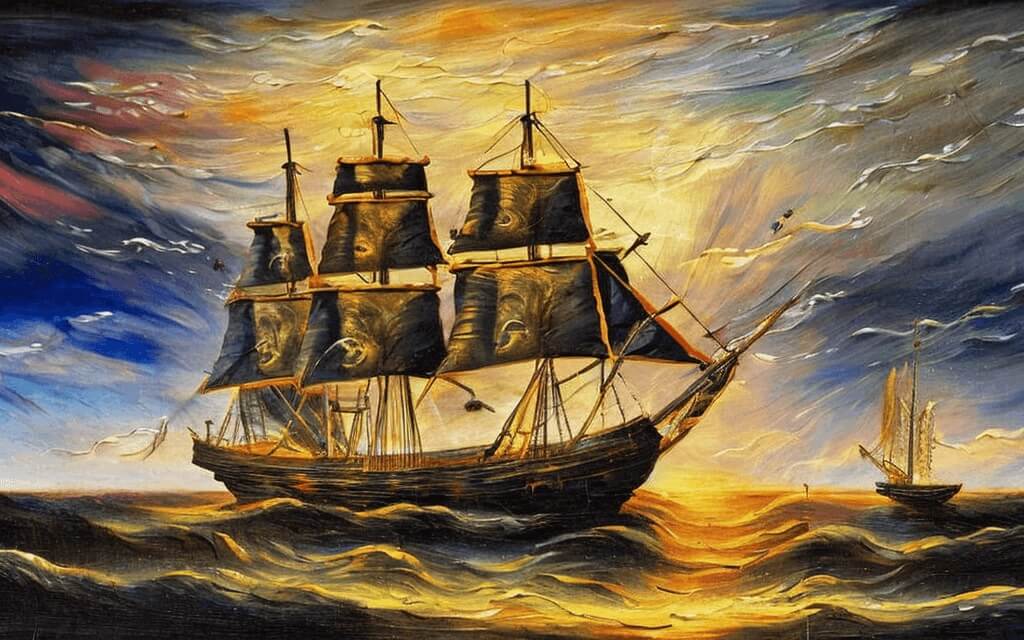
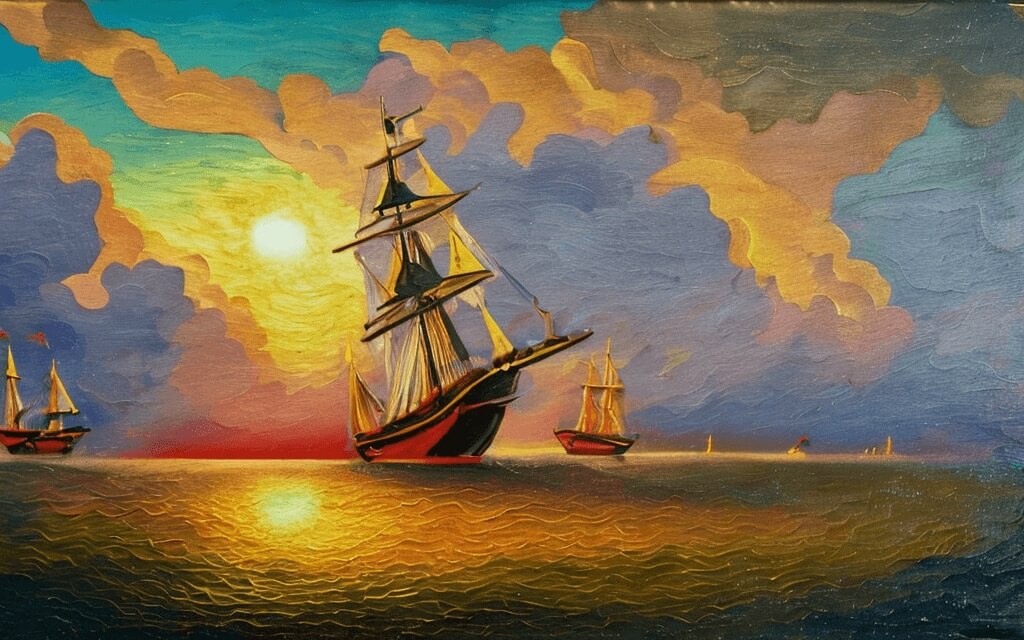
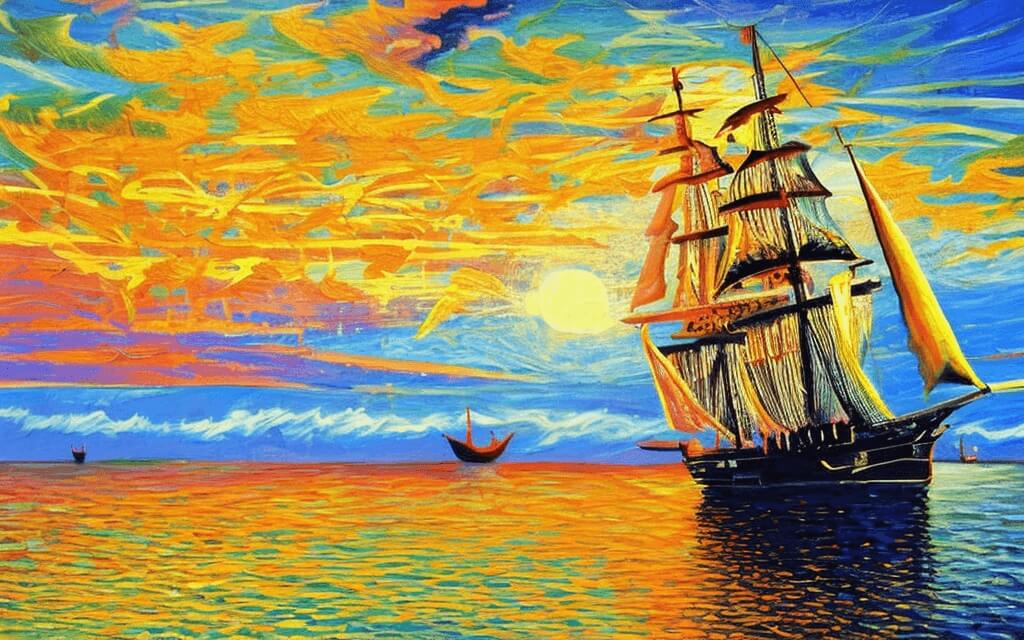
Finally, here are some beautiful examples of the generated images that I’m particularly fond of. The vivid colors, unique artistic styles, visible brushstrokes, and ever-changing scenes keep things fresh and visually captivating.


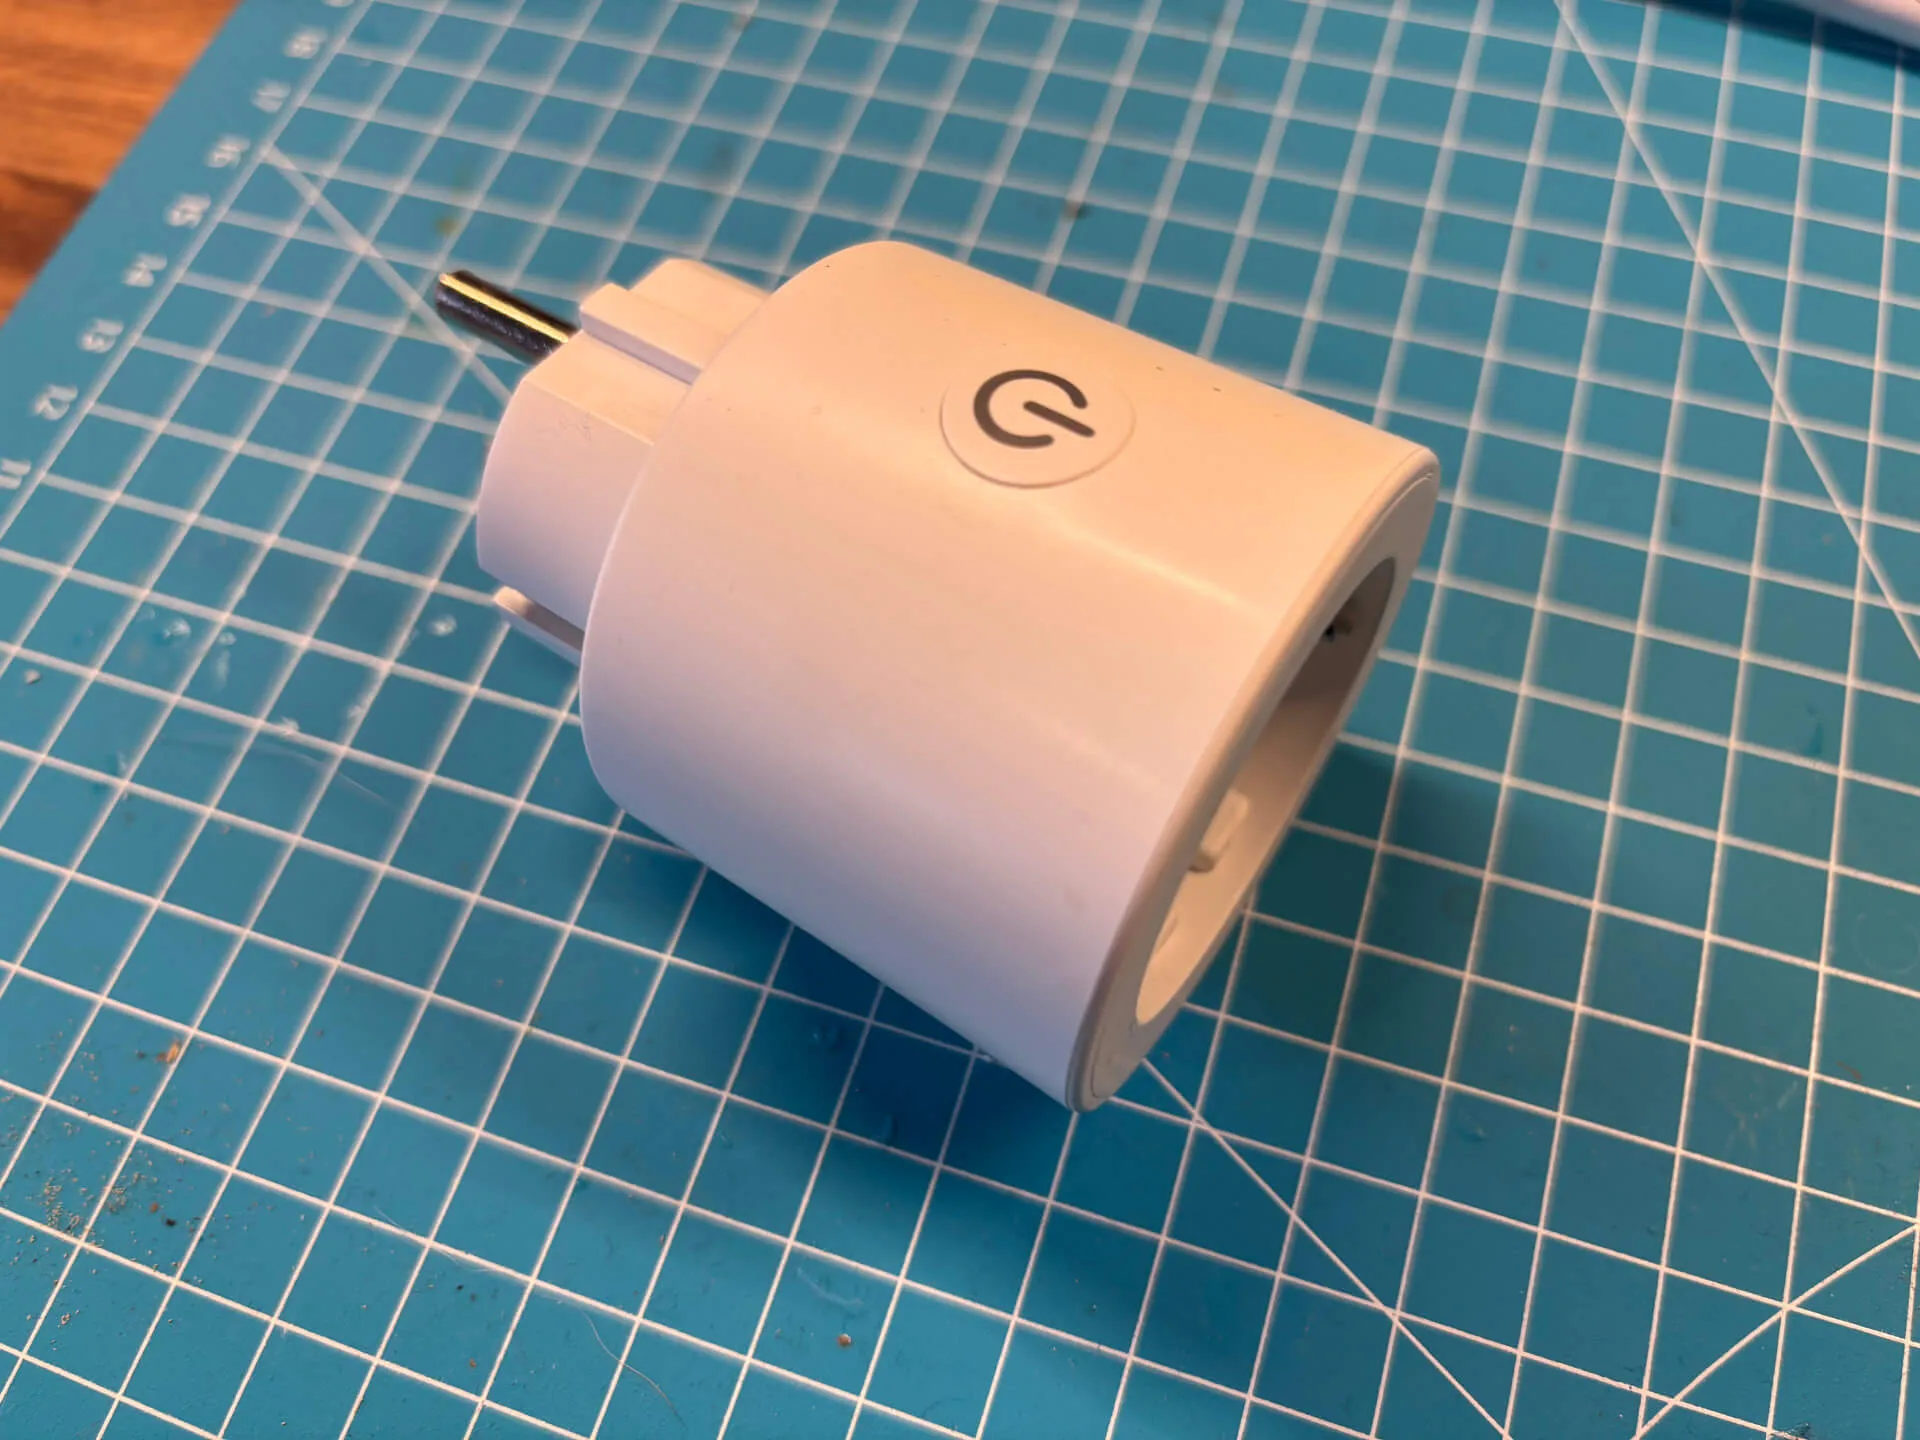
Schedule the Power Supply
The final step is to schedule the power supply. I use a smart plug controlled via the Tuya API, which serves two main purposes. First, it allows the Raspberry Pi to boot up at a specific time, as this is the only way to power up a Raspberry Pi that was previously shut down. Second, it ensures that all devices are powered off at night, which helps save energy and extends the lifespan of the hardware.
When setting the shutdown time, make sure to allow the Raspberry Pi enough time to shut down properly. You definitely don’t want to cut the power while it’s still writing data to the SD card — trust me, I’ve learned this the hard way by ruining a perfectly working system.
Final Thoughts
I’m very happy with the result. Of all the projects I’ve developed over the years, the digital picture frame is one of the few that has earned a permanent spot in our living room. When we have guests over, it often takes them a moment to realize that the picture isn’t real, especially when a new image is generated. The funniest moments are when a guest, for example, is confused and asks if the ship wasn’t just sailing in the opposite direction before, or if it’s really possible for the sun to suddenly be setting. The fascination with a dynamically changing painting is still strong to this day.
From a technical standpoint, I would probably approach things differently if I were to do this again. A Raspberry Pi isn’t strictly necessary for this project, and in a later version, I used an ESP32 to display the image. This reduces a lot of complexity (like cron jobs and the operating system), minimizes the time it takes to display the image after a reboot, and helps avoid SD card issues.
In the end, though, as is often the case, “done is better than perfect.”
And my wife loves the picture.
Mission accomplished \o/. Thanks for reading!
