As a Creative Technologist, some level of chaos is part of the fun. Trying out new cloud services, pushing code to a new platform, or using a Raspberry Pi or ESP32 to host the latest pet project is a wonderfully playful way to learn new ways of implementing ideas. This freedom is liberating, but it comes with the caveat of managing infrastructure and cost. This article describes how I use a Mac Mini as a server and development machine for creative prototyping—and how it helps me save costs.
Let’s take my setup as an example:
- Domain services: My first website went live around 1998, and since then I’ve stuck with German hoster Strato. I used to have a handful of websites and MySQL databases there, but today I only use their domain service; my projects have moved to different platforms.
- Website Hosting: Most websites are now hosted at netlify and Vercel , both great cloud hosting platforms that connect to your GitHub account and automatically deploy your project whenever you update your code.
- Databases: supabase is a terrific service that offers handy features like authentication, REST APIs, or vector embeddings for LLMs.
- render.com is another excellent option if you want to deploy a database with ease. You can also launch any docker container with just a few clicks.
- Raspberry Pis are wonderful little SoC devices that come in handy for smart home control (e.g., with Home Assistant) or as prototyping boards for physical projects. I probably have half a dozen of these devices doing tasks I’ve long forgotten. Occasionally, an SD card dies, and suddenly a part of the house loses its smart lights, or a digital picture frame gets stuck on a random image. Only then do I remember what that particular device was used for.
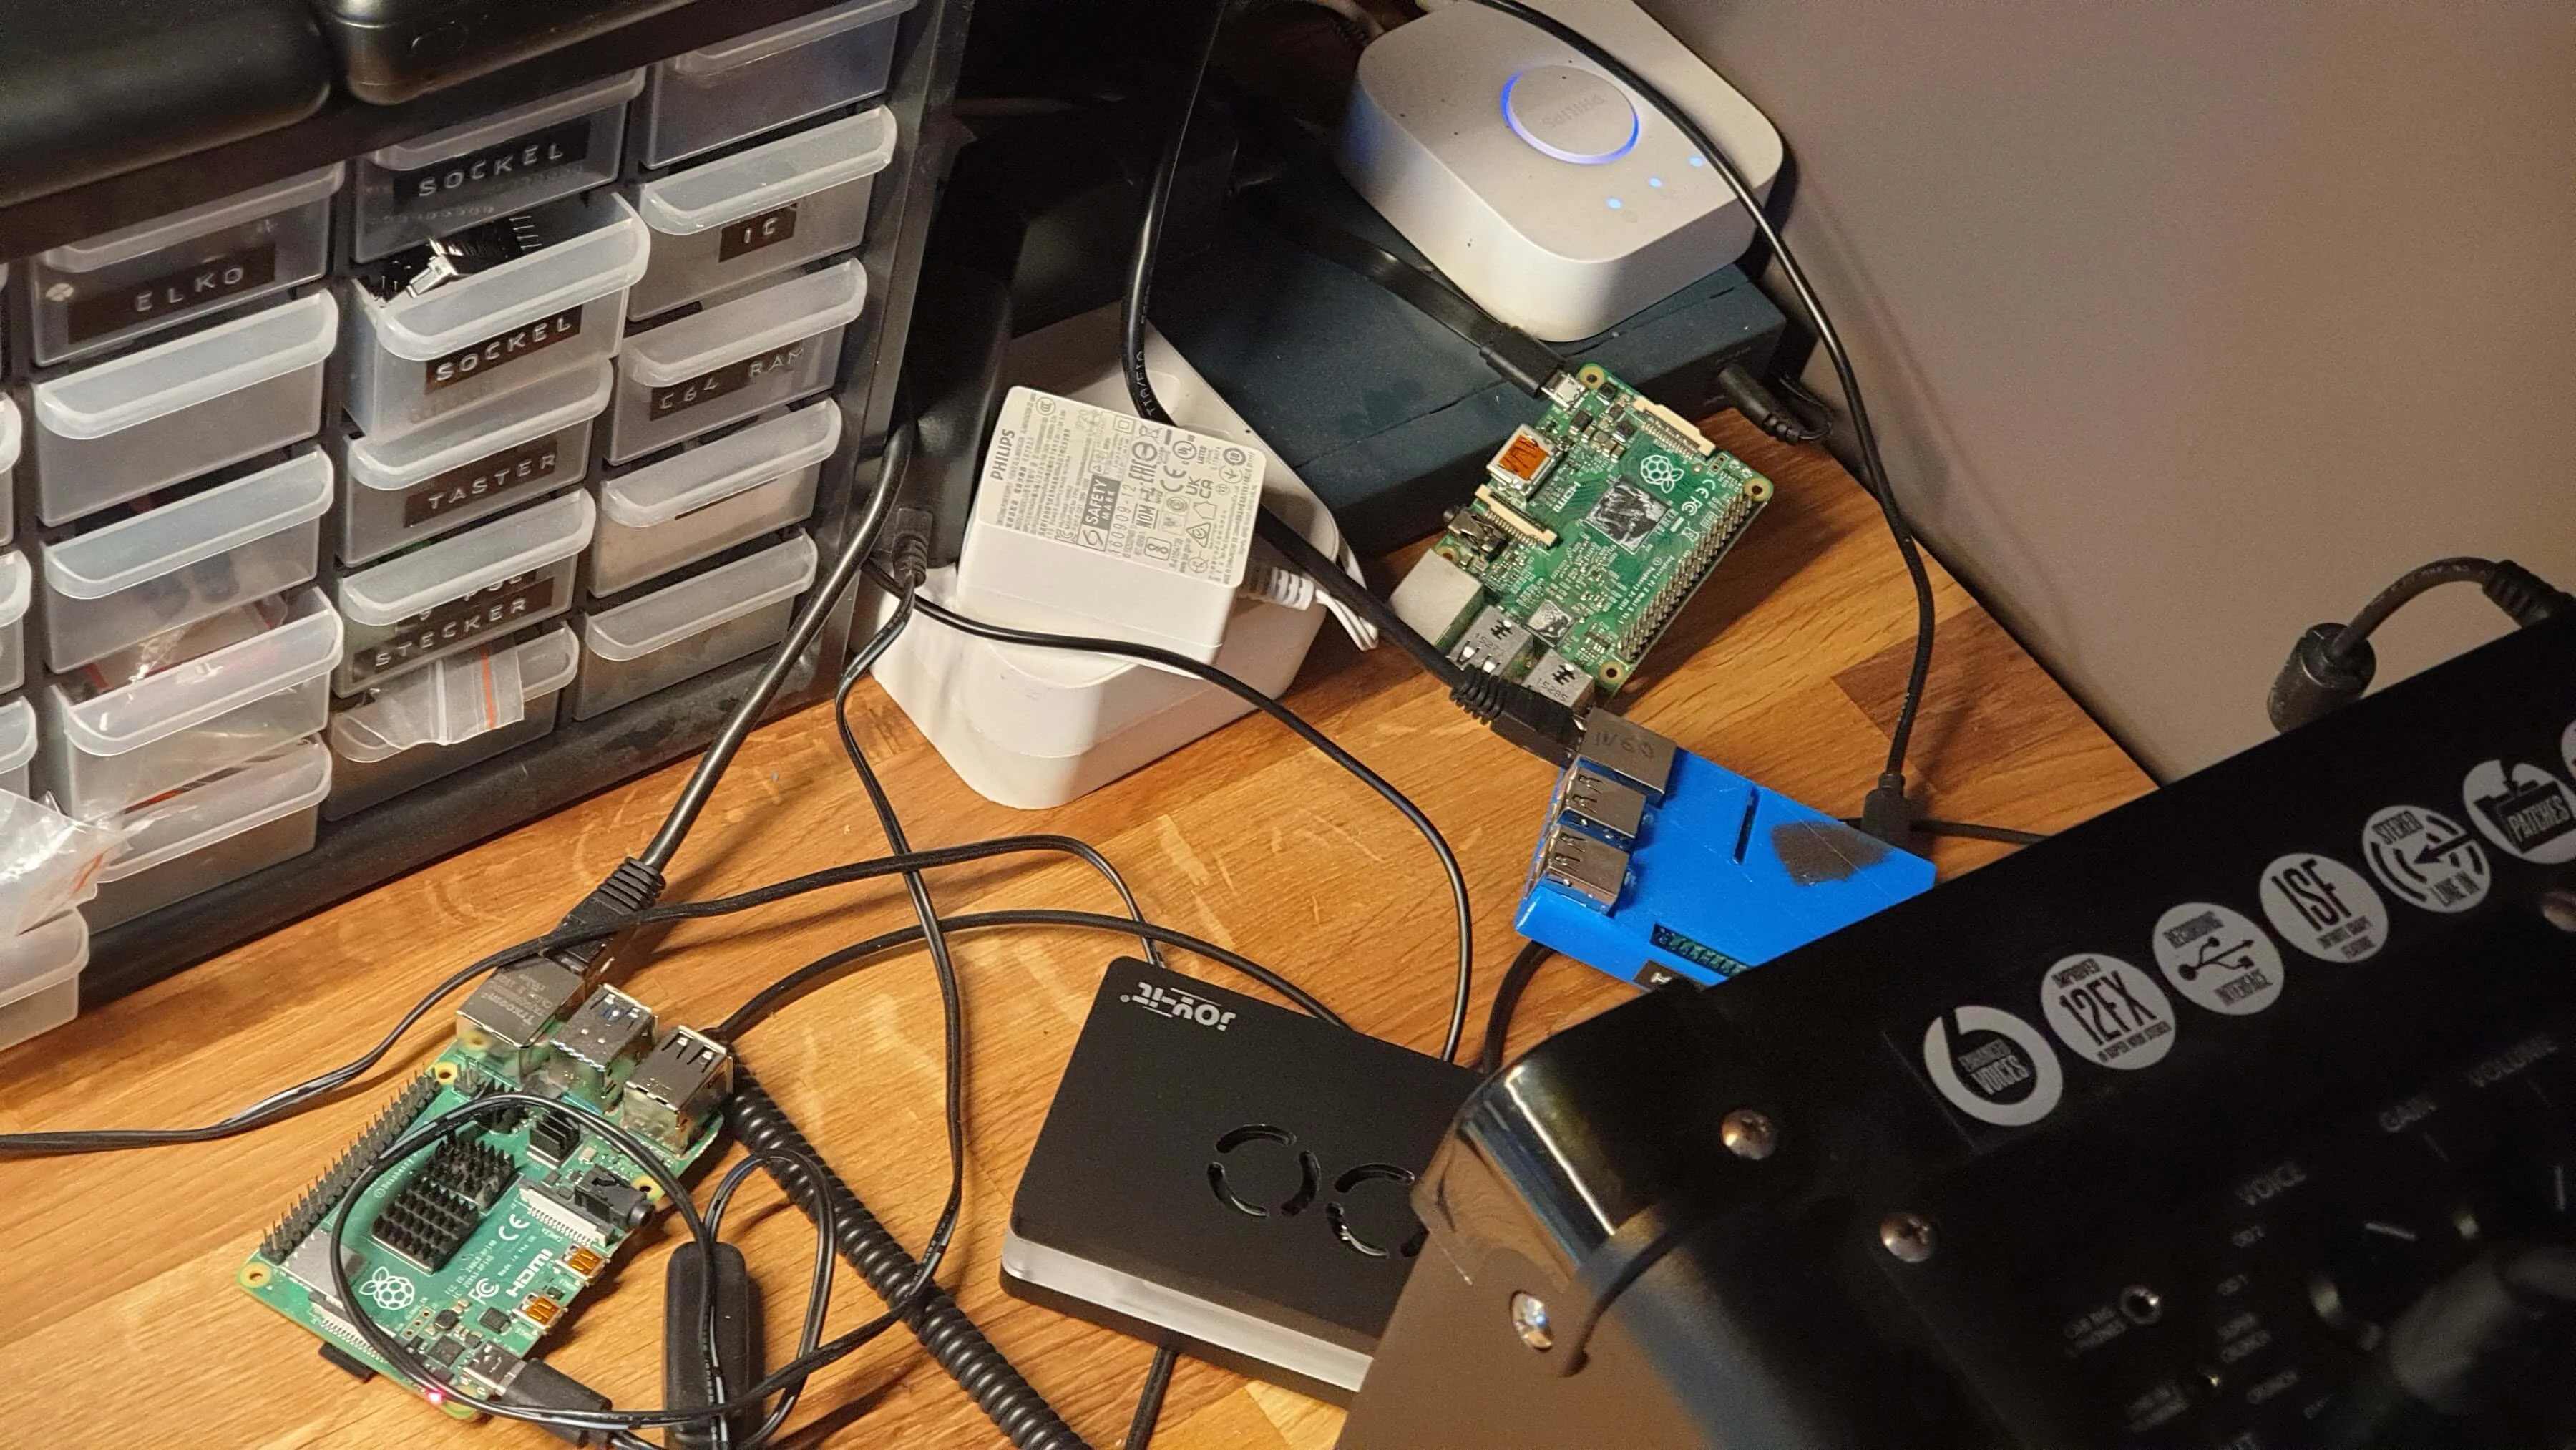 Sometimes when it’s quiet, I can hear them whisper. They are planning something.
This is basically the same infrastructure we use at CityLAB Berlin . As an innovation lab with just a handful of developers but dozens of active projects, it makes even more sense to outsource as much of the infrastructure to cloud services as possible, minimizing hardware maintenance and server administration while being able to tie service costs to each project’s budget.
One downside, however, is that you can easily forget about services that may no longer be needed, gradually increasing your monthly bills. Finally, for my personal projects, paying 20 dollars to spin up a database or deploy a Docker container can be a creativity blocker: Do I want to try something new badly enough to pay for it?
This is the part of the article where I’d argue that having a dedicated machine for many of the above tasks is the logical conclusion. But who am I kidding… of course I mostly wanted a new toy to play around with. Hence, I bought myself a
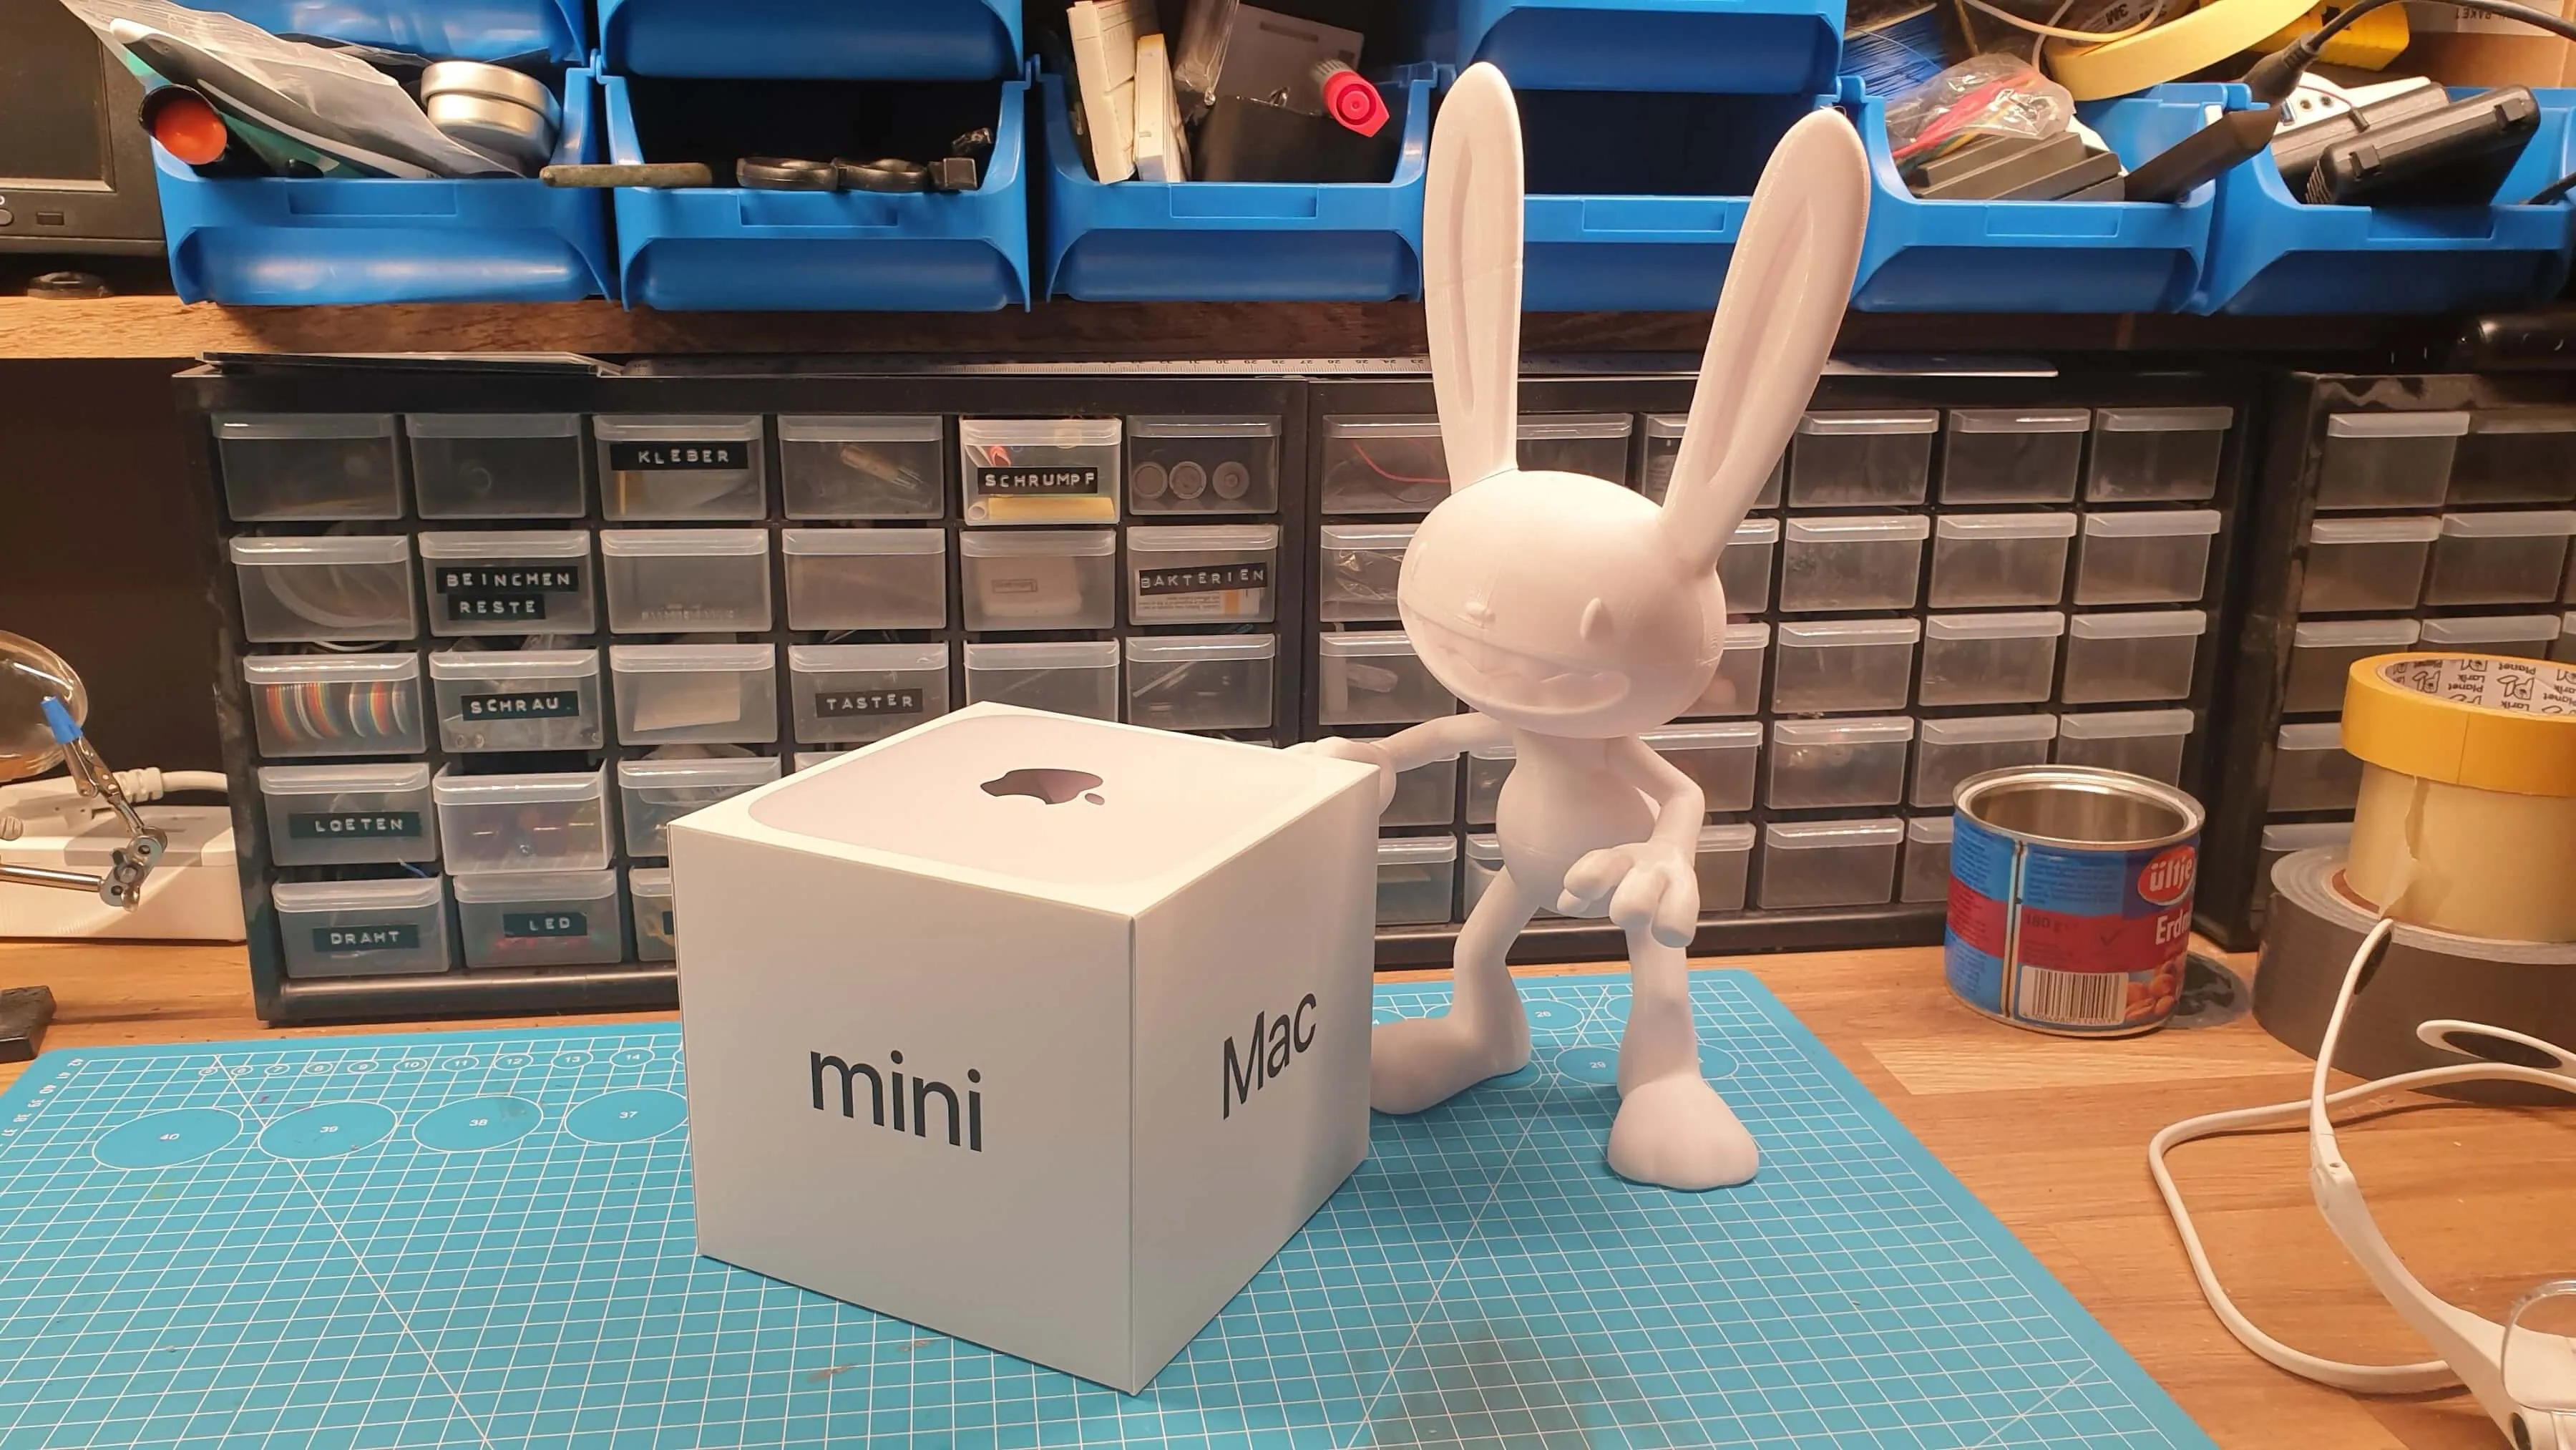 My 3D printed Max figure would love to throw the box out of the window.
Mac Mini
To be fair, I’d been wanting a desktop Mac for a long time (I use a Mac laptop for my daily work), and the latest Mac Minis are actually a great deal. For 649 EUR (as of December 2024), you get a tiny machine with impressive specs: The M4 processor is a real powerhouse, and the M-Series chips have become the poor person’s GPUs for machine learning. Naturally, they can’t compete with an NVIDIA RTX 4090, but with that beast currently priced at 2500 EUR, there’s really no comparison. The base model Mac comes with 256GB of storage and 16GB of RAM—neither is a bargain, and Apple charges a small fortune for upgrades, but I’d say it’s not worth the extra cost for my intended use. Since I already have a monitor, keyboard, and mouse, there were no additional expenses.
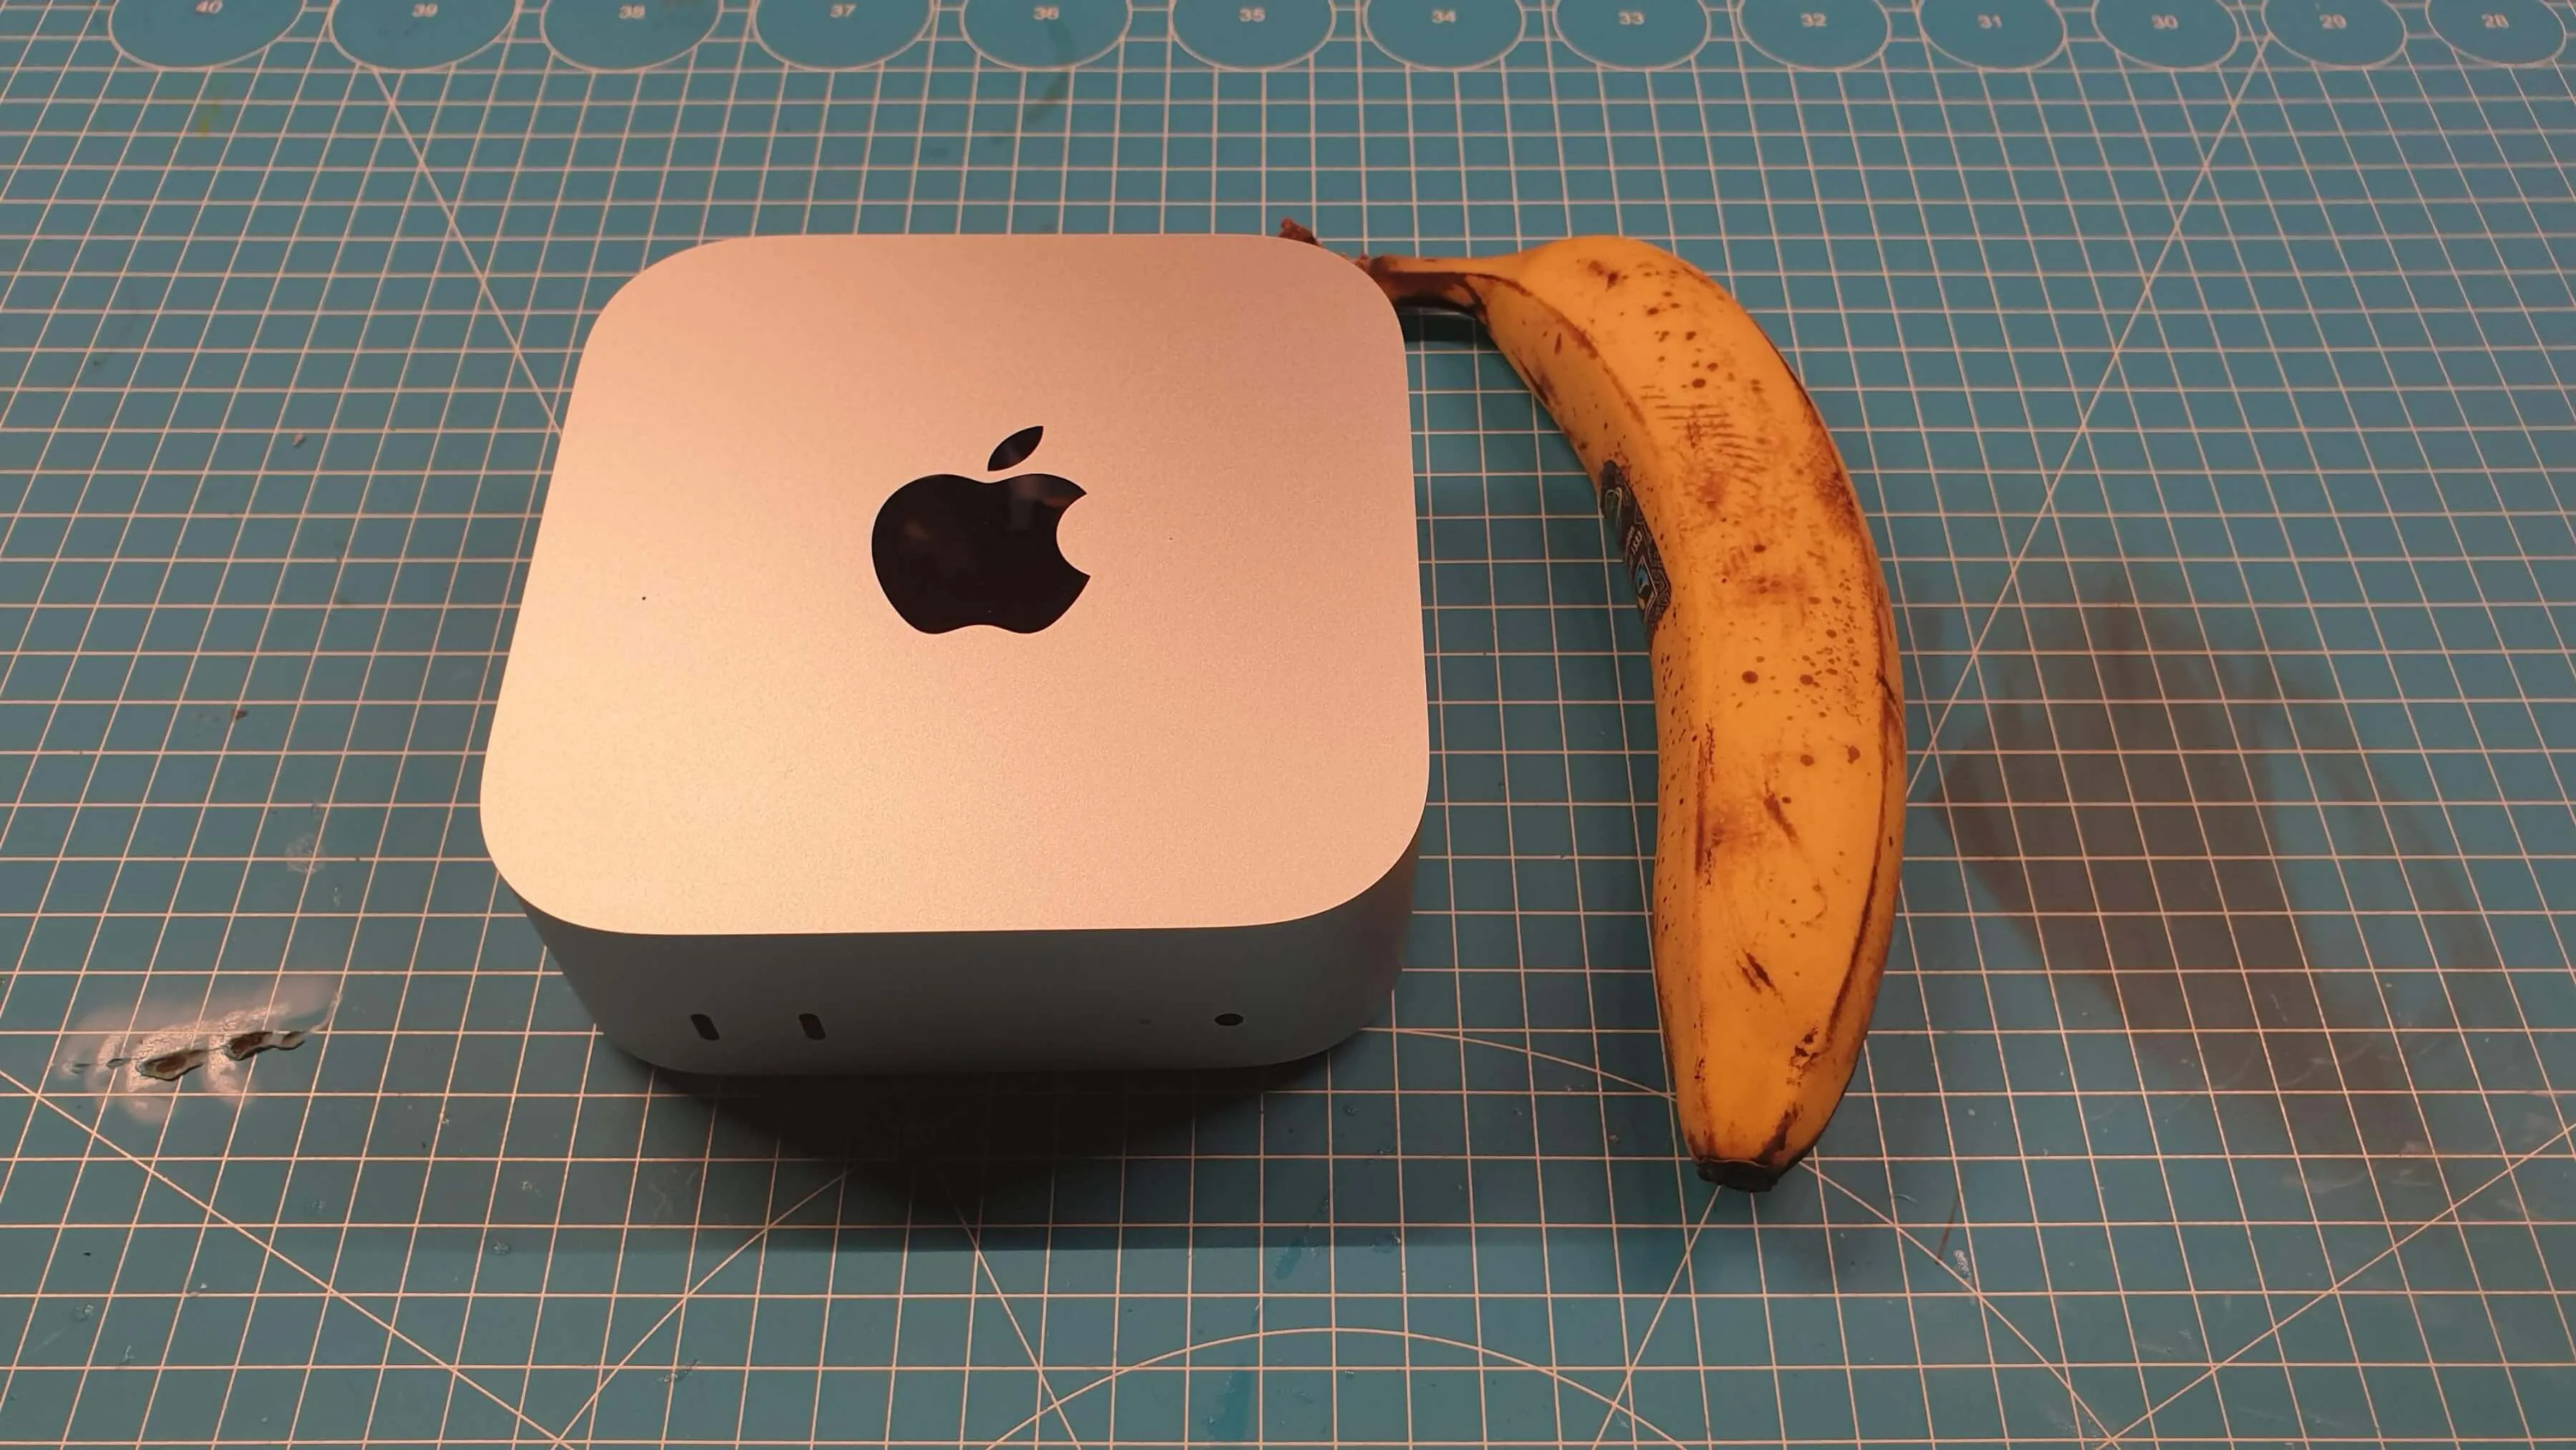 Banana for scale.
Installation is as easy as it gets, probably less than 20 minutes from unboxing to being productive. What truly blew my mind is the Universal Control feature, which allows you to use your laptop keyboard, trackpad, or mouse to control the Mac Mini. I didn’t expect it to be so seamless: just move your cursor from your notebook display toward the external display, and it magically appears there, as if you were using a dual monitor setup. It instantly makes you forget you’re controlling two different machines, which is a huge productivity boost.
The Setup
Here’s the plan for this development machine. I want to be able to replace parts of my previously mentioned infrastructure—or at least have the option—if it makes sense. For instance, one Raspberry Pi is currently used to run Home Assistant , an excellent project for smart home automation. I learned the hard way to make regular backups of the SD card since I often tinker with settings I’m apparently not supposed to touch, resulting in a bricked setup. Having to reconfigure all my smart home integrations is a hassle. Since the Mac Mini performs hourly Time Machine backups to my Synology NAS, I’m hoping to have fewer headaches now, especially when my wife complains about the lights turning our living room into a ’90s techno disco. That’s one drawback of smart homes: if you’re the only one who can fix it, maybe it’s not so smart after all.
Another Pi serves as, well, a server for the numerous ESP32 projects scattered around the house. Some of these drive dot matrix displays showing AI-generated images created on the Pi. Another setup is a 3D-printed flower that rotates inside a flowerpot to indicate the current charge level of the solar storage battery. There are many more, and whenever I can offload computation from the ESP32s to save battery, a Raspberry Pi is incredibly handy.
Because I frequently experiment with Large Language Models, I typically run services like Ollama (for hosting and providing an API for various LLMs) or FlowiseAI (for low-code LLM workflows and agent modeling). More advanced setups also need a database, such as PostgreSQL for vector embeddings. I plan to use docker , especially the desktop version, to easily host and manage these services.
Local & publicly exposed services
Some of these services should remain local only—like my APIs for ESP32 projects or Home Assistant. Home Assistant is accessible at http://homeassistant.local:8123 out of the box. My Node.js server is available via its local IP, for example, 192.168.178.99:3000, and by the device name I assigned to the Mini in the router config, http://devmini:3000. I chose 99 as the static IP because that was previously assigned to the Raspberry Pi that served the ESP32s, and all of them have that IP hardcoded. This saved me from having to reflash them. Next time, I’ll use a local device name instead, which is much more flexible.
DynDNS & router configuration
Now, for publicly accessible services, there are a few extra steps. I want some services (e.g., a public API, a database, and Ollama) to be reachable from the internet, for instance at https://api.hinterding.com. Different approaches are possible, but I decided to use a dynamic DNS (DynDNS) service to route a static URL to the dynamic IP assigned by my internet provider.
After a bit of Googling, I settled on dynv6.com , a free and straightforward DynDNS service. Once you’ve registered, choose a name and a domain—for example, 100-reasons-why-britney-spears-is-cooler-than-taylor-swift.dynv6.net—and you’re almost done. You just need to grab your computer’s MAC address (e.g., from your router config) and add it as an AAAA entry to your Resource Records.
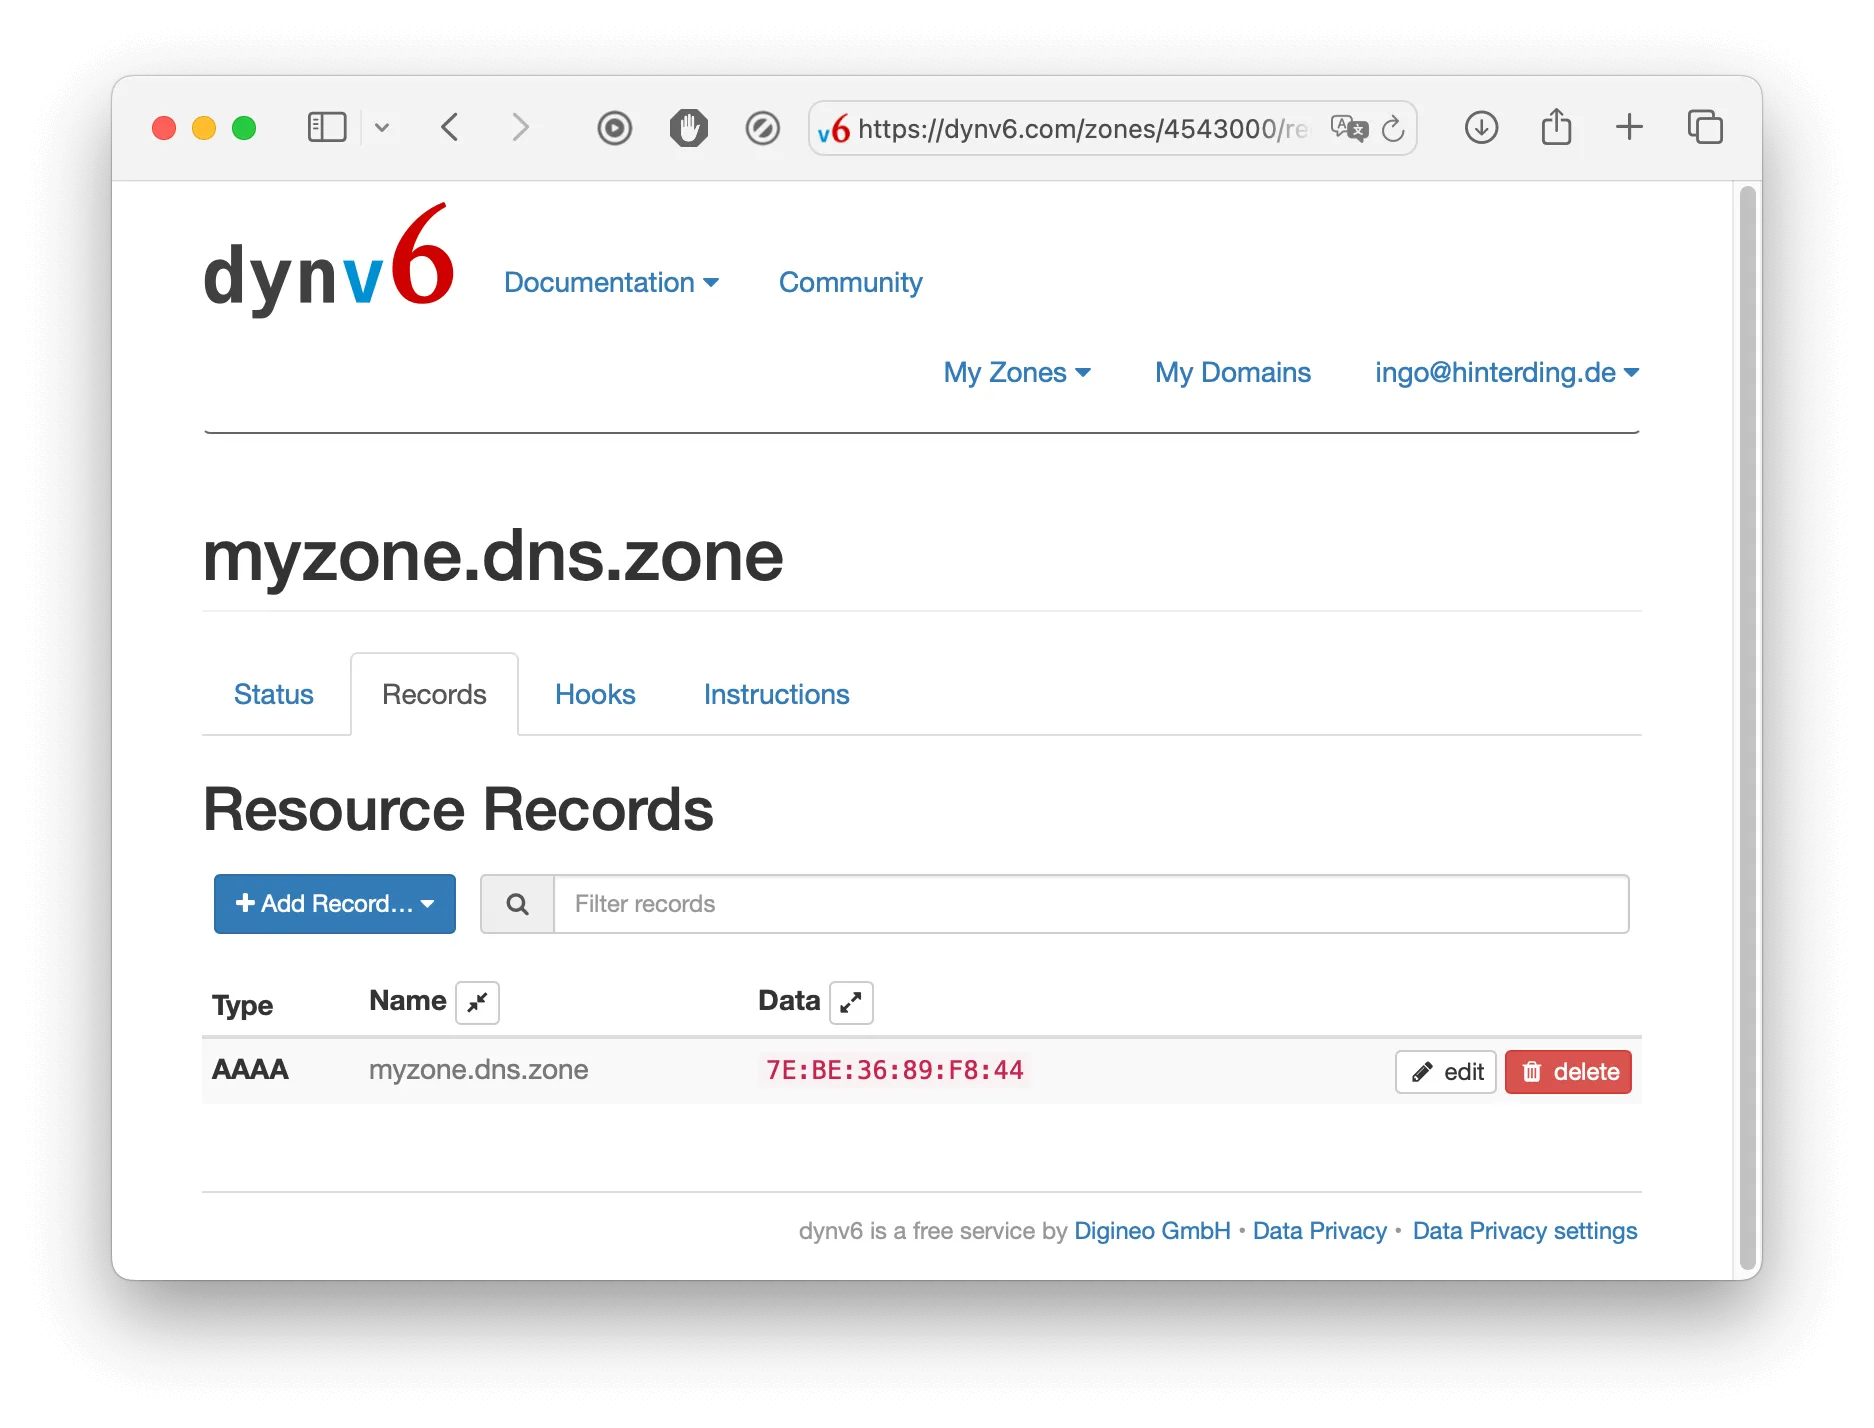 Don’t forget to click on ‘edit’ and enter your computer’s MAC address.
Next, enter the DynDNS settings from dynv6.com into your router configuration; their instructions are simple copy-and-paste. On my Fritz!Box, the DynDNS configuration looks like this:
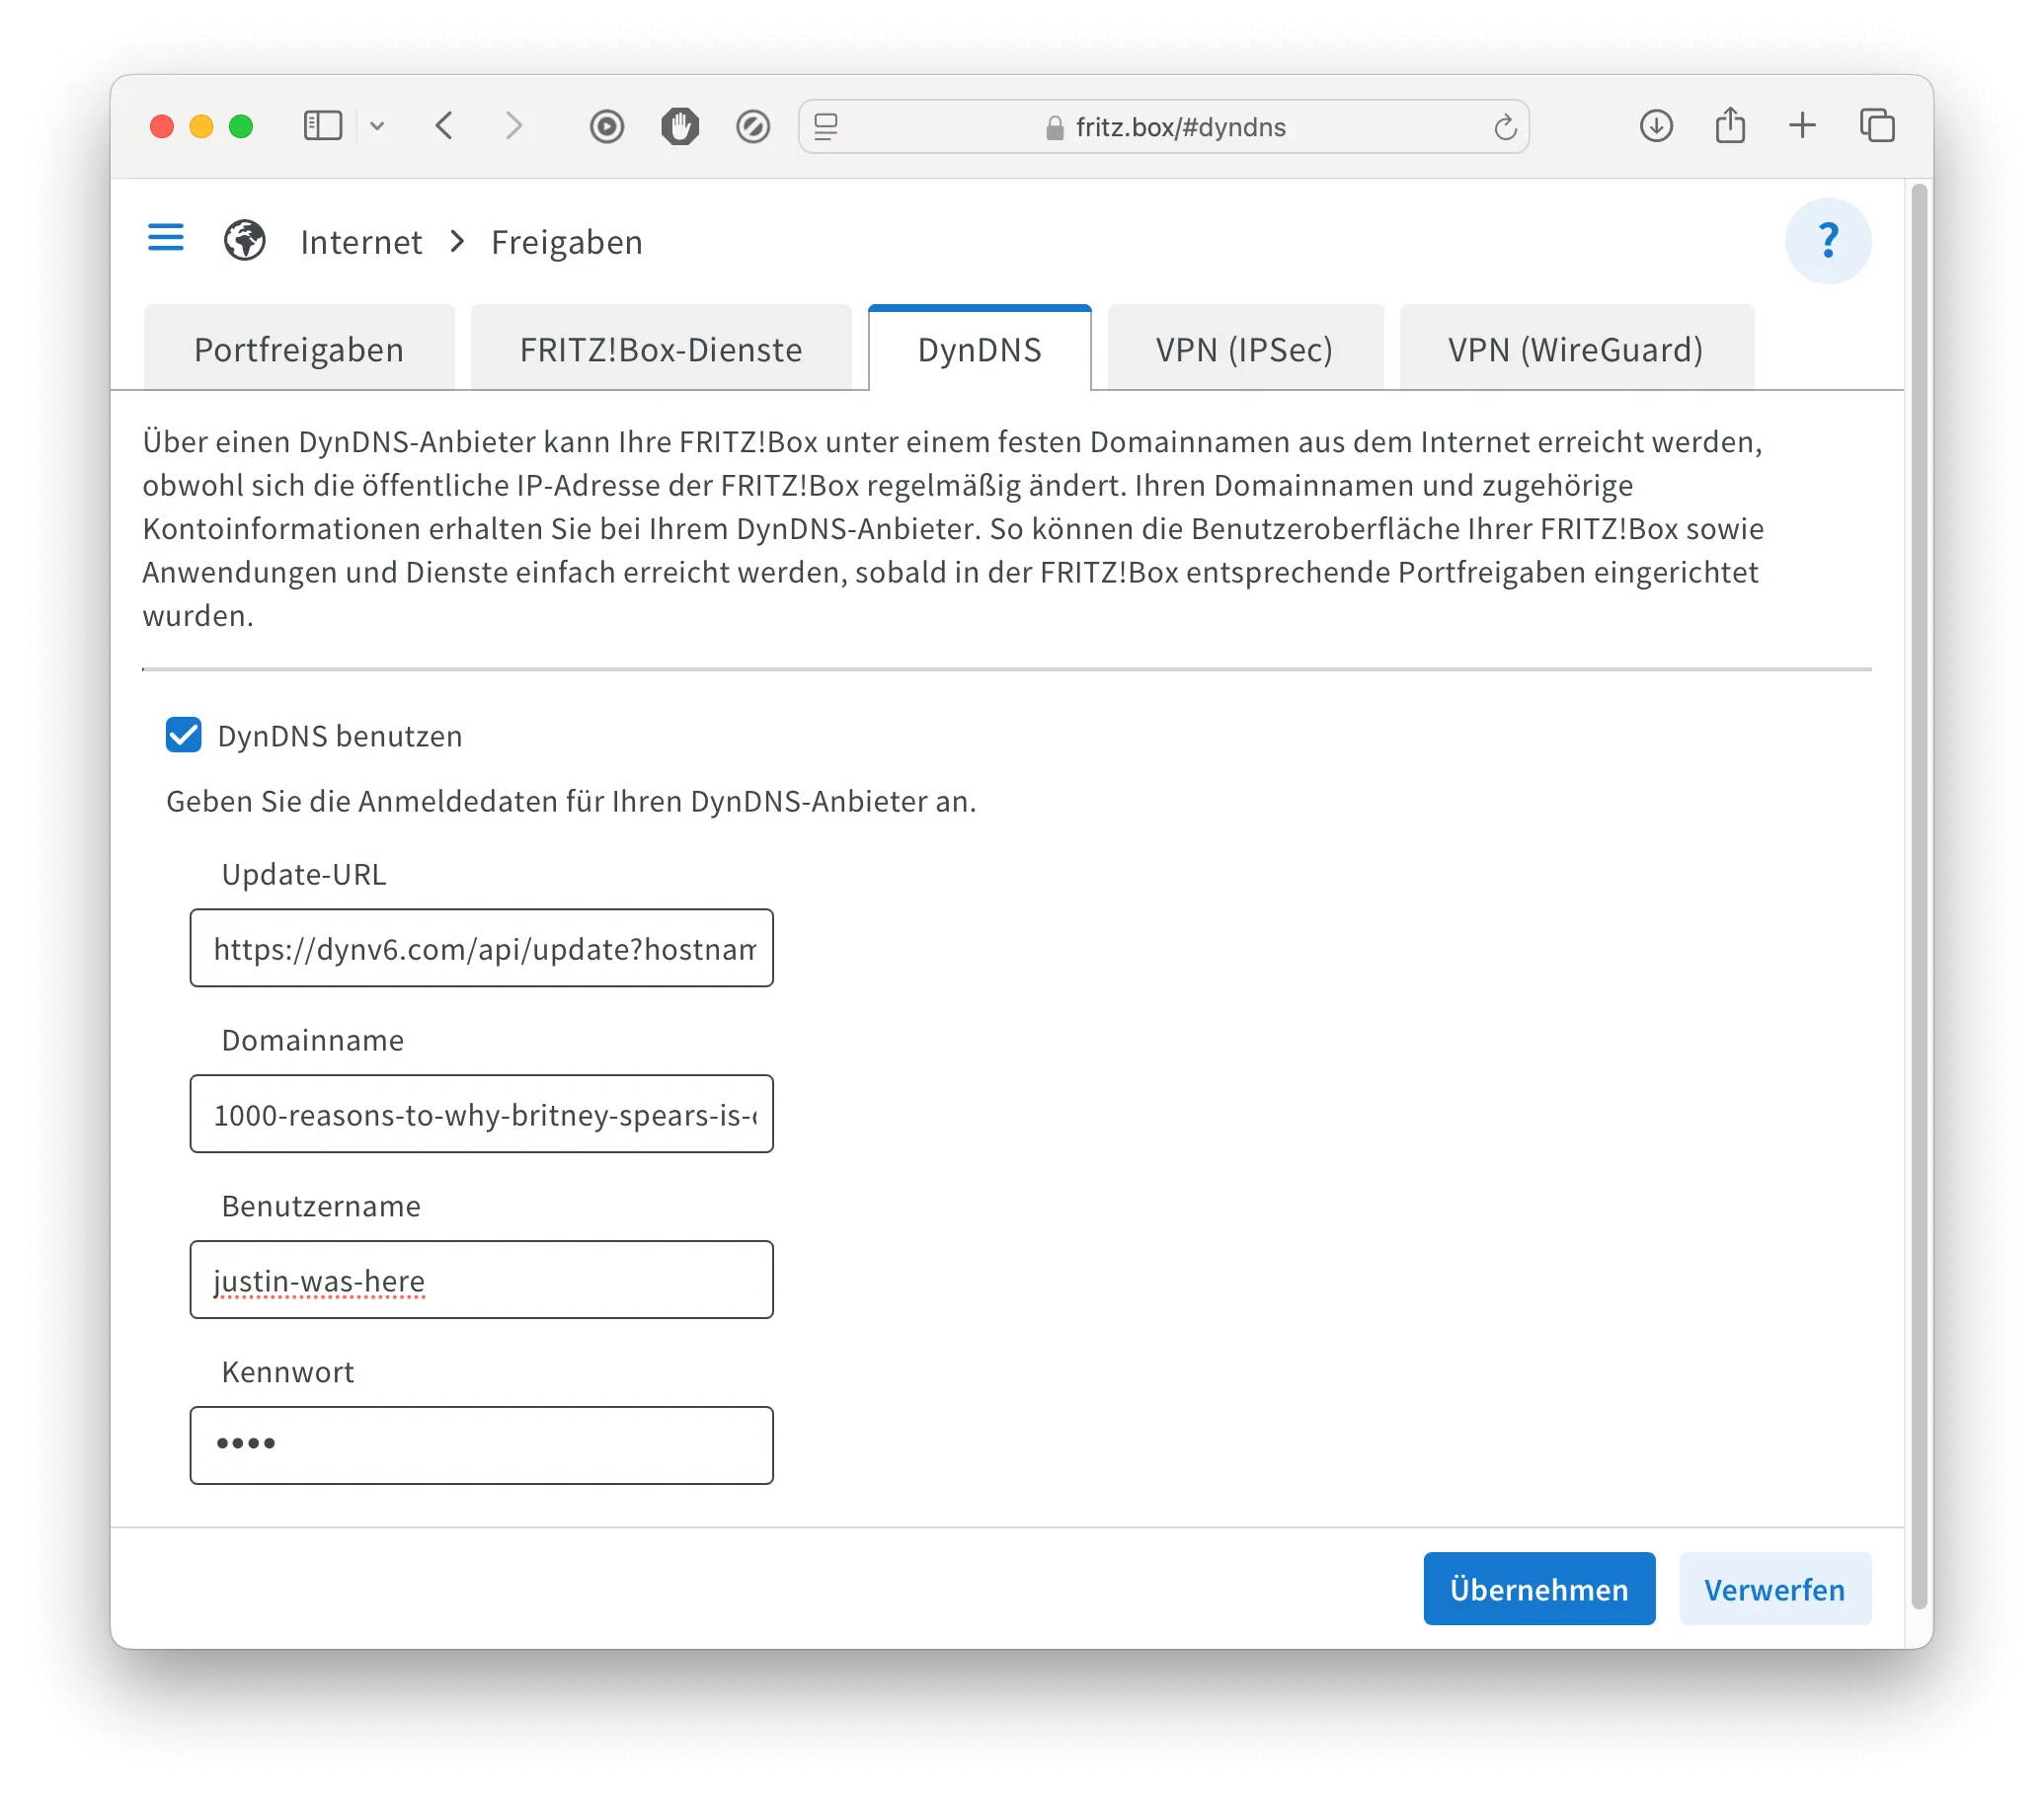 Paste the data from the DynDNS service into your router config.
That should link your computer to the DynDNS service, making it available at the chosen URL. It may take a minute or two, but if you open that URL in your browser, you should—ideally—see nothing yet. If instead you see your router’s login page, you likely entered the wrong MAC address. Make sure to fix that immediately, because you definitely don’t want to expose your router login if your password is set to the name of your ex.
Finally, enable port forwarding for the services you want to expose in your router config. Again, for a Fritz!Box, it looks like this:
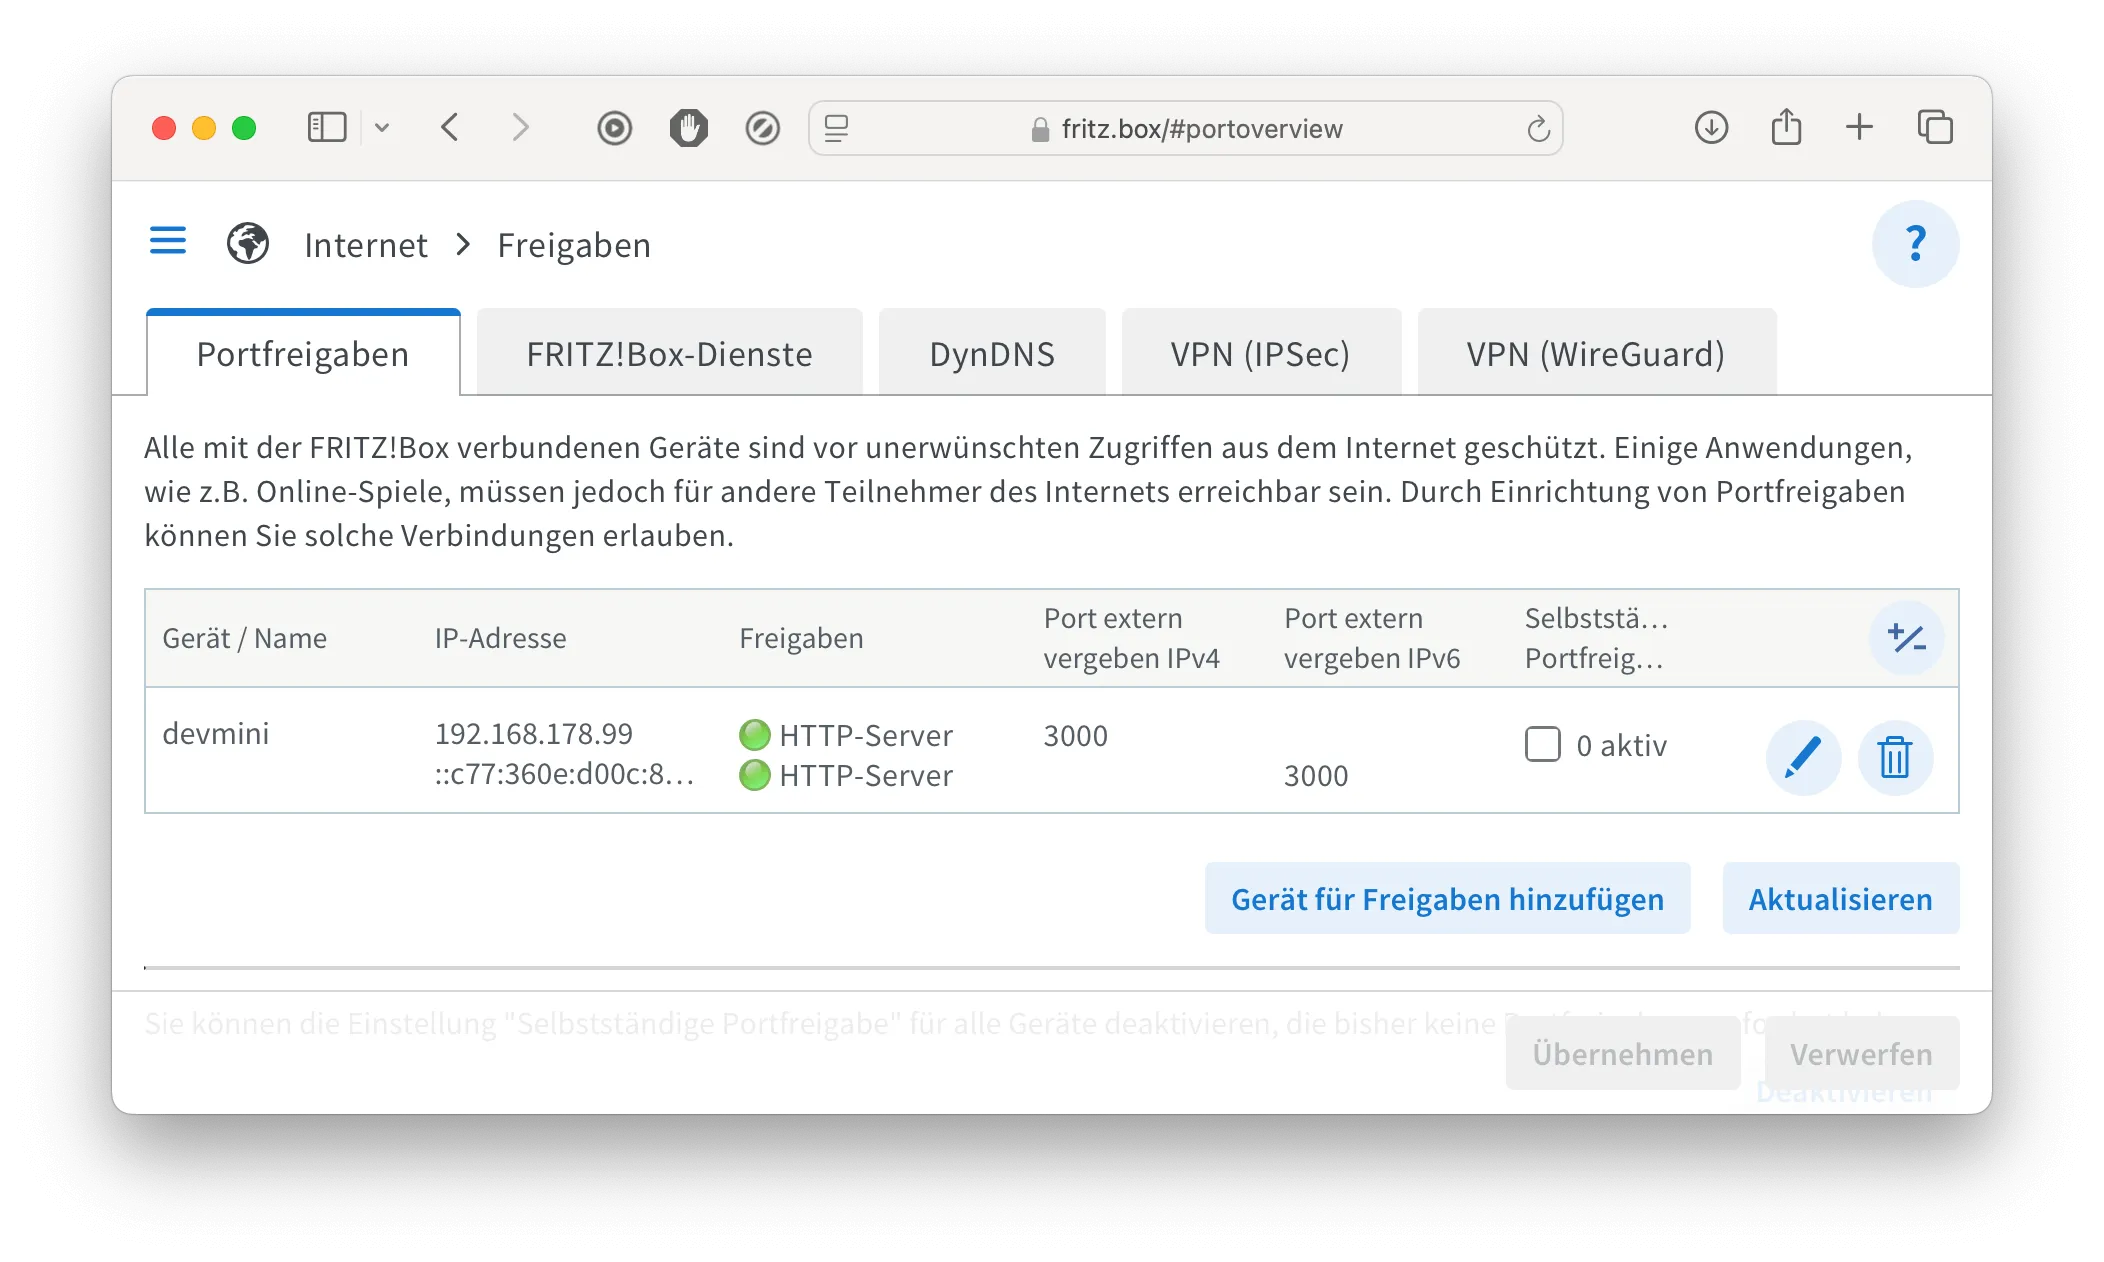 Port forwarding exposes a given port number publicly.
If everything was done correctly, your service running locally at 192.168.178.99:3000 should now also be accessible at 100-coolest-duck-names-2025.dynv6.net:3000. As a finishing touch, you can edit your domain hosting service’s DNS entries so your project can be accessed via a more convenient URL.
Congratulations! You now have your own web server and can deploy whatever you like to the internet—no extra service costs required. I’m thrilled with this new setup. It gives me a lot more flexibility to explore new ideas and remain independent from cloud services. Getting a dockerized project up and running is now literally a matter of seconds.
Let me know if you have any questions or suggestions on how to improve the setup. I’ve only just started exploring the possibilities and look forward to hearing your best practices!